
What Homeowners Get Wrong About Caulking Windows and Doors
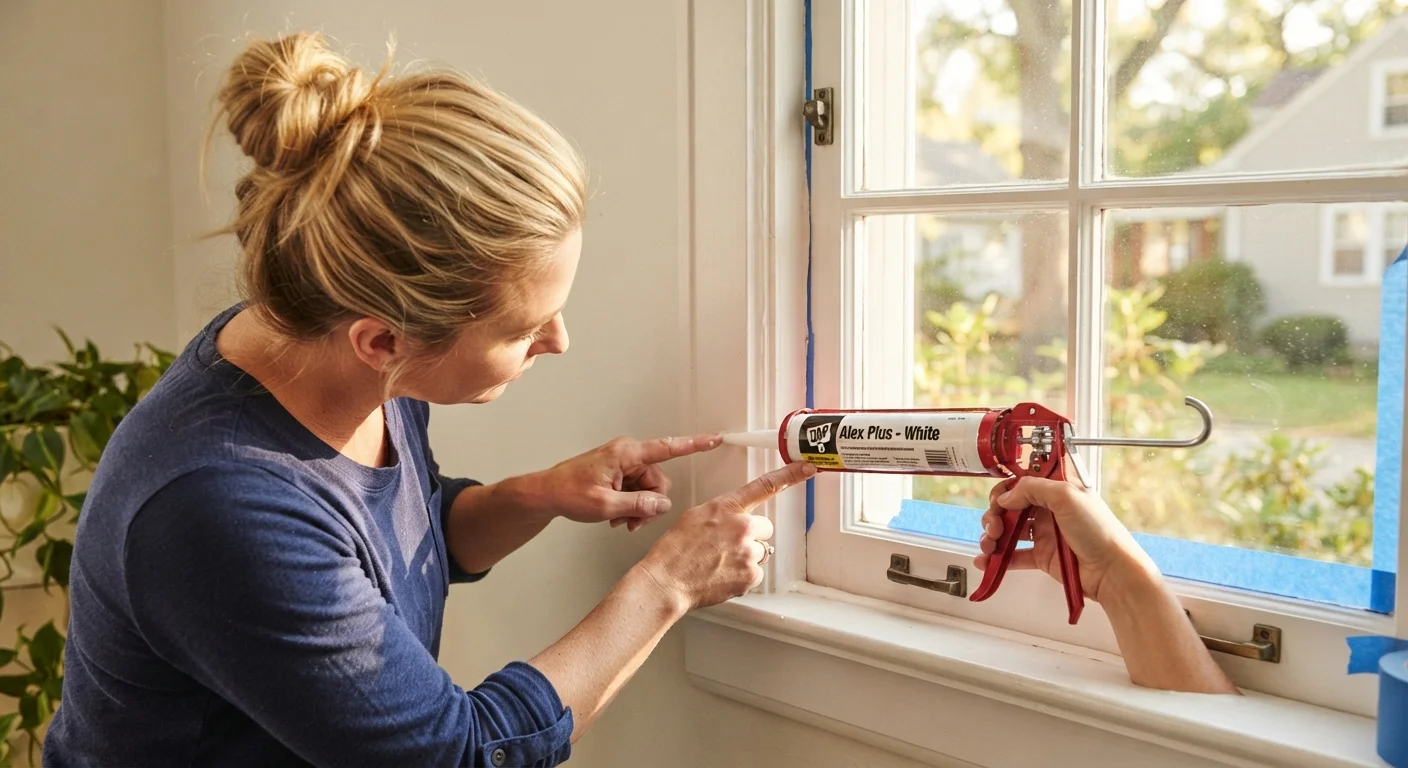
Photo credit: ProximityFinds.com | One-stop Reading Source
In this article
Caulk applied incorrectly can trap moisture or fail within months. Here's what causes those failures and how to do the job so it actually lasts.
Key Takeaways
- Using the wrong caulk type is one of the most common reasons seals fail prematurely.
- Skipping surface prep - especially cleaning and drying - causes adhesion failure regardless of caulk quality.
- Applying caulk over old, deteriorating caulk traps moisture and leads to mold growth.
- Caulking in cold or humid conditions significantly shortens the lifespan of any seal.
- Smoothing and tooling the bead properly is not optional - it determines how well the caulk bonds.
Why Caulking Fails So Often - and Costs So Much
A failed caulk seal around windows and doors isn't just an eyesore. It lets conditioned air escape, allows moisture to work behind siding or trim, and can quietly set the stage for rot and mold. Yet most homeowners approach caulking as a quick fix rather than a skill - and that gap in expectations is exactly where problems begin.
The good news is that the most common mistakes are entirely avoidable once you know what to look for. Whether you're sealing drafts before winter or doing a full exterior refresh, understanding these errors will save you from redoing the job in six months. For a broader look at how small oversights become expensive problems, see our guide to home improvement myths that lead to costly repairs.
Using the wrong type of caulk for the location.
Why it happens: Many homeowners grab whatever is available at the hardware store without checking whether it's rated for interior, exterior, paintable, or high-movement applications.
Applying new caulk directly over old, cracked caulk.
Why it happens: Removing old caulk feels tedious, so homeowners often assume a fresh layer on top will bridge the gap.
Skipping surface cleaning and failing to ensure the surface is dry.
Why it happens: The surface looks clean visually, so homeowners skip this step to save time.
Caulking in cold temperatures or direct sunlight.
Why it happens: Homeowners often caulk reactively when they notice a draft - in fall or winter - without checking application temperature requirements.
Cutting the cartridge tip too wide and applying too large a bead.
Why it happens: A wider opening feels like it fills gaps faster, and beginners assume more caulk means a better seal.
Failing to tool and smooth the bead after application.
Why it happens: Some homeowners believe the bead is finished once it's laid and don't realize tooling is a required step, not an aesthetic choice.
Setting Up for a Seal That Actually Lasts
Good caulking work is 70% preparation and 30% application. Once you've stripped out old material, dried the surface thoroughly, and chosen the correct product for the location, the actual bead is almost anticlimactic. Cut the cartridge tip at a shallow angle - around 30 degrees - and keep the opening small for better control. Move at a steady, consistent pace so the bead stays even rather than ballooning and thinning along the way.
After laying the bead, tool it immediately with a wet fingertip or a dedicated caulk tool. This presses the material into the joint rather than just sitting on top of it, which dramatically improves adhesion. Don't rush the cure: most silicone and hybrid caulks need 24 hours before they're exposed to moisture, and full cure can take several days depending on temperature and humidity.
25-30%
Home energy lost through air leaks
The U.S. Department of Energy estimates that drafts around windows, doors, and other openings account for roughly 25-30% of home heating and cooling energy use.
2-20 years
Range in caulk lifespan by product type
Standard acrylic caulk may last as few as two years outdoors, while high-quality silicone formulations can remain flexible and bonded for up to 20 years under the right conditions.
Caulking is one layer of a complete air-sealing strategy. For gaps around door frames specifically, pairing caulk with the right weatherstripping closes off infiltration points that caulk alone can't address - our weatherstripping selection guide covers exactly how to match the right material to each location. And if you want to build caulking into a regular maintenance rhythm, the seasonal home maintenance checklist walks you through what to inspect and when.

Author
Home Editorial Team
Home Editorial Team is the collective byline for our editorial team and contributor network. Articles published under this byline or an editorial pen name are researched, written, and reviewed according to our editorial standards for clarity, consistency, and independence before publication.
View all articles →