
Before You Make an Offer: A Room-by-Room Walkthrough Checklist
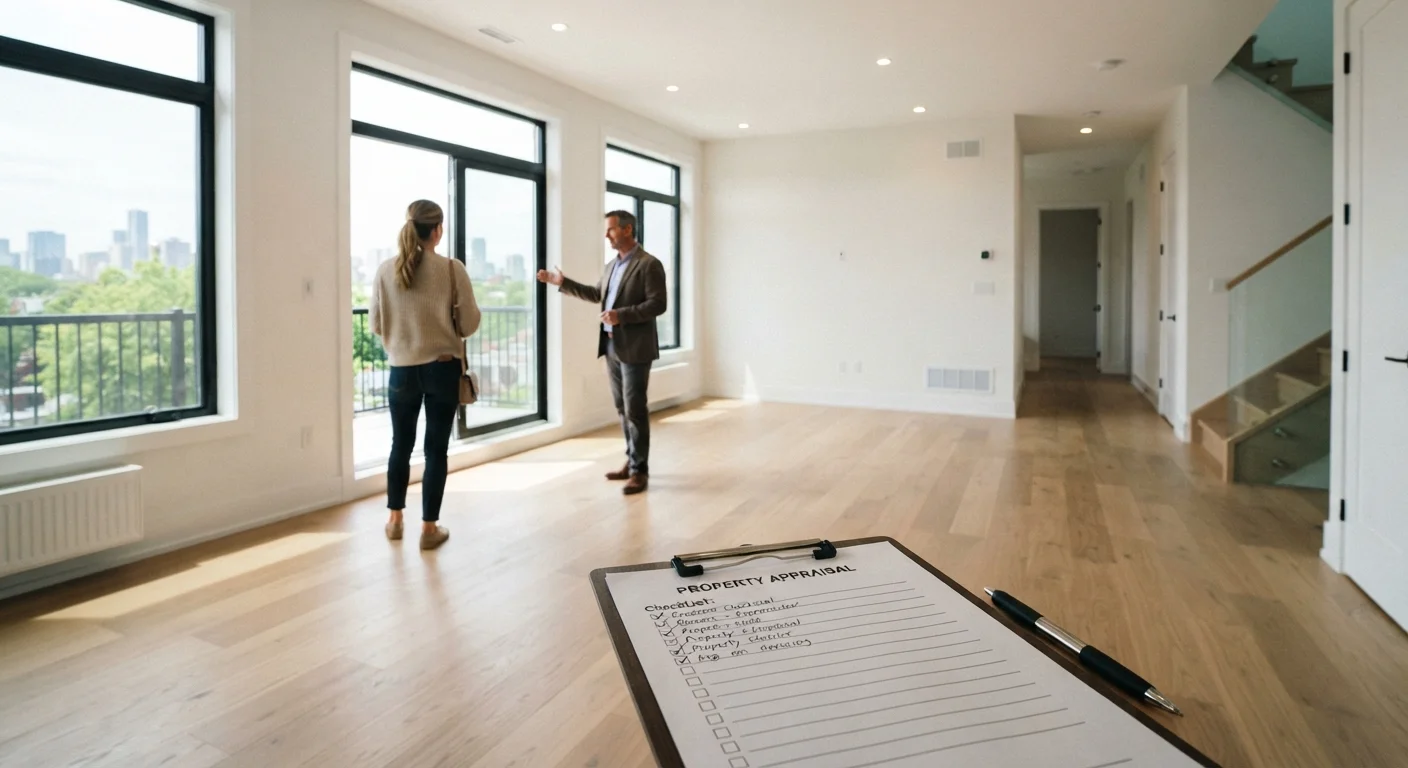
Photo credit: ProximityFinds.com | One-stop Reading Source
In this article
Don't rely on memory during a showing. Use this structured checklist to evaluate condition, red flags, and questions to ask.
Key Takeaways
- A structured walkthrough reveals condition issues your eyes alone might miss during a showing.
- Red flags in the basement, roof, and electrical panel often signal the costliest repairs.
- Document every room with photos and notes - memory fades fast after multiple showings.
- Your walkthrough observations directly inform what to negotiate after an inspection report.
- A formal home inspection is still essential even after a thorough buyer walkthrough.
Why a Structured Walkthrough Changes Your Offer Strategy
Open houses and private showings are designed to impress, not inform. Furniture, staging, and lighting can mask water stains, uneven floors, and deferred maintenance. Without a structured approach, buyers often leave a showing with an emotional impression rather than a factual assessment of what they're considering purchasing.
This checklist gives you a room-by-room framework to evaluate condition methodically. Use it on every property you visit seriously - not to replace a professional home inspection, but to sharpen your observations so you walk in with sharper questions and walk out with better data. If you ultimately make an offer, your notes here feed directly into understanding what you may need to negotiate after the inspection report.
Bring a printed copy or a notes app. Take photos of anything that concerns you. Timestamps help if you're comparing multiple properties on the same day.
Printed or digital checklist
Keeps your evaluation consistent across multiple showings so nothing is skipped.
Smartphone with camera
Timestamps and documents concerns room by room for later review with your agent.
Small flashlight
Illuminates dark corners in basements, under sinks, and inside closets that overhead lighting misses.
Seller's disclosure statement
Cross-reference seller-reported issues against what you observe during the walkthrough.
Tape measure
Verify room dimensions against any furniture or renovation plans you have in mind.
How to Use This Checklist Room by Room
Work through the checklist in a consistent sequence - exterior first, then major systems, then living spaces, then kitchen and bathrooms. This order mirrors how a professional inspector typically moves through a home and helps prevent you from skipping areas when you're distracted by finishes or décor.
For each item marked must, a deficiency is a potential deal-changer or renegotiation point. Items marked should inform your repair cost estimates. Nice-to-have items affect livability and resale but rarely derail transactions on their own.
Your Walkthrough Is Not a Home Inspection
A buyer walkthrough is an observational tool, not a professional assessment. Licensed home inspectors are trained to identify defects that are not visible to the untrained eye and carry professional liability for their findings. Never waive a formal home inspection based on the results of your own walkthrough, regardless of how thorough it was.
After completing your walkthrough, compare notes against the seller's disclosure statement if one has been provided. Discrepancies between what you observed and what was disclosed are worth flagging with your buyer's agent. For context on what terms and conditions typically appear once you're ready to move forward, see our overview of reading and responding to a purchase offer.
Exterior & Curb Appeal
Basement & Crawl Space
Kitchen
Bathrooms
Living Areas & Bedrooms
HVAC & Mechanical Systems
After the Walkthrough: Turning Notes Into Action
Your walkthrough notes serve two purposes: helping you decide whether to make an offer at all, and building the foundation for negotiation once you're under contract. Items you document now - a soft spot in the subfloor, rust stains around the water heater, missing downspout extensions - give your inspector a targeted list to examine more closely.
A walkthrough is not a substitute for a licensed home inspector. Inspectors carry professional liability, use specialized tools, and access areas (attic insulation depth, crawl space clearances, electrical panel interiors) that are difficult or unsafe to evaluate on a showing. Think of your walkthrough as reconnaissance; the formal inspection is the verification.
Cosmetic Updates Can Conceal Systemic Problems
Fresh paint, new flooring, and updated fixtures are inexpensive relative to foundation repairs, roof replacement, or full electrical rewiring. Be especially thorough in recently renovated homes - improvements made without permits may not meet current code. Ask your agent whether permits were pulled for any major work visible during the showing.
If you're evaluating an investment property or a home that's been vacant for an extended period, consider requesting a specialist inspection for systems like HVAC, plumbing, or the roof in addition to a general inspection. Sellers preparing a home for market often address surface-level cosmetics - for the full picture of what's been done versus what hasn't, see our notes on preparing a home for the market.

Author
Real Estate Editorial Team
Real Estate Editorial Team is the collective byline for our editorial team and contributor network. Articles published under this byline or an editorial pen name are researched, written, and reviewed according to our editorial standards for clarity, consistency, and independence before publication.
View all articles →