
Drywall Patching: From Small Holes to Large Sections
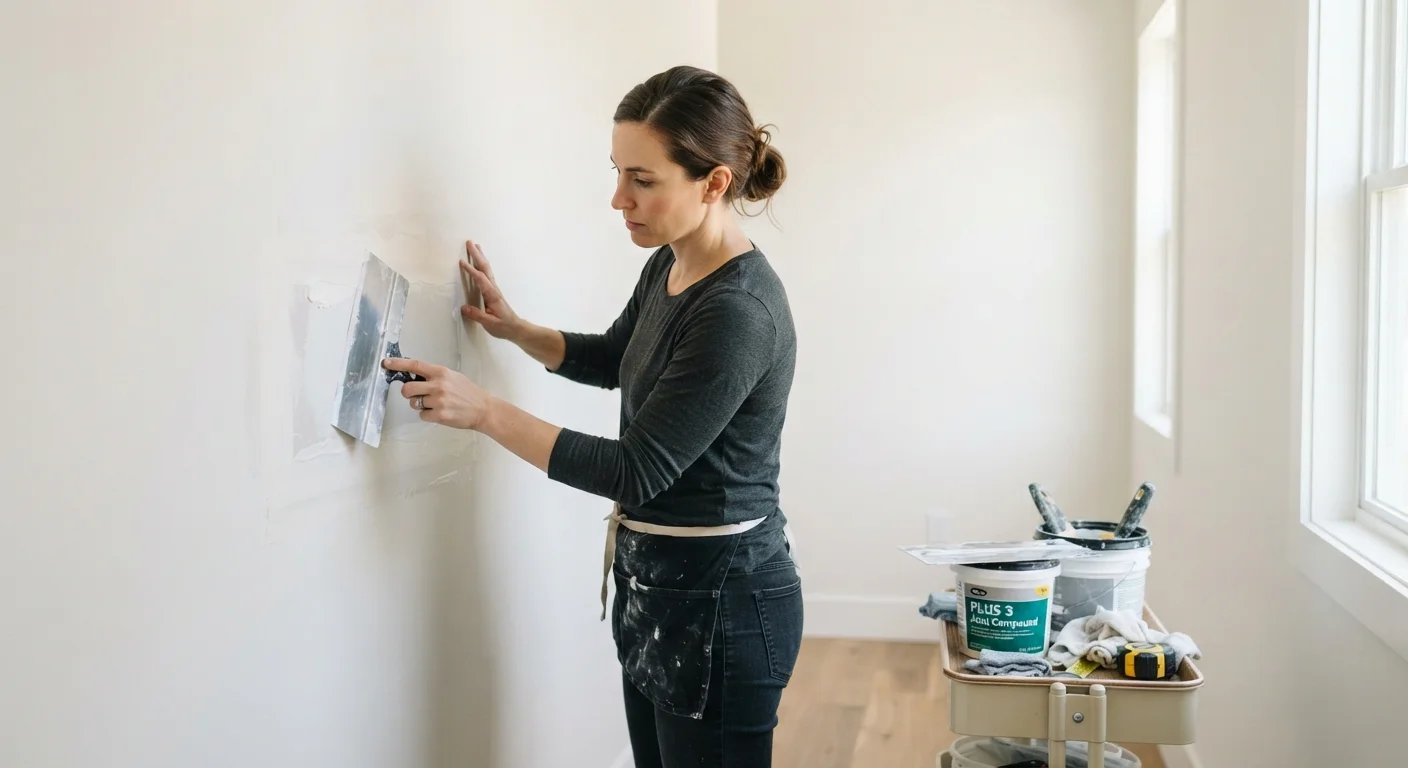
Photo credit: ProximityFinds.com | One-stop Reading Source
Learn how drywall repairs work, what tools you need, and when a patch job is enough versus when full panel replacement makes more sense.
Key Takeaways
- Repair method depends on hole size: small holes need only spackle, while larger ones require backing or a patch panel.
- Joint compound must dry fully between coats - rushing this step causes cracking and uneven surfaces.
- Feathering compound outward from the patch edge is the key technique for a seamless, invisible repair.
- Holes near plumbing, electrical, or with signs of moisture should be inspected before patching.
- Priming the patched area before painting is essential - skipping it leads to visible sheen differences.
Understanding What You're Working With
Standard interior drywall (also called gypsum board or wallboard) consists of a gypsum plaster core sandwiched between two layers of paper facing. It's a durable material, but it dents and punctures readily from doorknobs, furniture, anchors, and everyday wear. The good news is that gypsum is also one of the most forgiving materials to repair - virtually any hole can be made invisible with the right technique and a little patience.
Before gathering materials, check whether your walls are standard ½-inch drywall or the thicker ⅝-inch variety often used in garages, stairwells, and fire-rated assemblies. You can measure the thickness at any existing outlet cutout. Matching thickness matters when cutting in a replacement piece, and it's worth confirming before your hardware store trip.
Check for Hidden Hazards First
Before cutting into any wall, confirm there are no electrical wires, plumbing pipes, or gas lines running through the area. Use an inexpensive stud finder with AC detection capability or a non-contact voltage tester around the repair zone. Cutting into live wiring or a water supply line can cause serious injury or costly secondary damage. If you are uncertain, consult a licensed electrician or plumber before proceeding.
If you're new to home repair tools, our guide to building a first home repair toolkit covers the foundational items worth having on hand before starting any patch job.
Putty knife or drywall knife (4-6 inch)
Applies and smooths joint compound or spackle over the patched area.
Utility knife
Cuts drywall cleanly when sizing a replacement patch or squaring off damaged edges.
Drywall joint compound (all-purpose)
Fills and feathers the patch surface to blend with the surrounding wall.
Mesh drywall tape or paper tape
Reinforces seams on larger patches to prevent cracking over time.
Sandpaper (120- and 220-grit)
Smooths dried compound between coats and before painting.
Self-adhesive patch kit (metal or fiberglass)
Provides a quick backing solution for mid-size holes without cutting new drywall.
Drywall screws and 1×3 wood furring strips
Creates a solid backer for large patch sections that need structural support.
Primer (drywall or PVA sealer)
Seals the patched area so finish paint adheres evenly without lap marks.
When to Patch vs. When to Replace a Full Panel
A patch is almost always sufficient for isolated damage. However, there are situations where replacing an entire drywall panel - from stud to stud - makes more practical sense:
- Multiple large holes close together: Cutting in several patches on one section of wall can weaken the surrounding board. A single panel replacement is often cleaner and faster.
- Extensive water damage: Waterlogged gypsum loses its structural integrity and won't hold compound reliably even after drying. Full panel replacement is the safer call.
- Textured walls with difficult-to-match finishes: If the existing texture is highly distinctive and widespread, it may be easier to replace and re-texture a full panel than to blend a patch.
Moisture or Mold Means Stop and Investigate
If the damaged drywall is discolored, soft, or shows any signs of mold, do not simply patch over it. Covering moisture damage traps the problem inside the wall, where it will worsen over time. Identify and fix the source of moisture first, then allow the area to dry completely. If mold covers more than a small area, contact a remediation professional before attempting any repair.
Drywall repair shares some logic with other surface repair decisions - just as with grout repair versus full replacement, the best approach depends on how localized and stable the damage actually is.
Assess the damage and choose your repair method
Not every hole calls for the same fix. Use this general guide:
- Nail holes and hairline cracks (under ½ inch): Lightweight spackle applied with a fingertip or putty knife, sanded smooth when dry.
- Small holes (½ inch to 4 inches): A self-adhesive metal or fiberglass patch kit backed with joint compound.
- Large holes (over 4 inches): A cut-in drywall patch held by wood backer strips screwed to the existing panel edges.
Also inspect the edges of the damage. Clean, stable edges patch more easily than crumbling or soft ones, which should be trimmed back to sound material first.
Prepare the damaged area
Use a utility knife to trim away any loose paper facing, crumbling gypsum, or jagged edges around the hole. For larger repairs, use a drywall saw or utility knife to cut the hole into a clean rectangle or square - this makes fitting a replacement piece much simpler. Remove all debris and wipe dust from the surrounding surface with a dry cloth.
Install backing (for holes larger than 4 inches)
Cut two lengths of 1×3 lumber or furring strip several inches longer than the hole's height. Slide each strip into the hole, position it behind one vertical edge of the opening, and drive drywall screws through the existing drywall face into the strip to hold it firmly in place. Repeat on the opposite side. These backers give the replacement drywall piece a solid surface to screw into.
Cut a replacement piece of ½-inch drywall to fit the opening snugly, then screw it into the backer strips using drywall screws placed every 6-8 inches.
Apply mesh tape and first coat of compound
For any patch with a seam - including self-adhesive patch kits and cut-in replacements - apply self-adhesive mesh tape over all joints before compound. Press it firmly so it lies flat. Then apply a thin, even coat of all-purpose joint compound over the tape and the patch surface using a 6-inch drywall knife. Feather the edges outward 2-3 inches beyond the tape to begin blending with the wall. Allow this coat to dry completely - typically 12-24 hours depending on humidity and temperature.
Sand, apply second and third coats, and finish
Once the first coat is fully dry, lightly sand with 120-grit sandpaper to remove ridges and smooth transitions. Wipe away dust. Apply a second, wider coat of compound, feathering it out an additional 2-3 inches. Let dry and sand again. A third thin coat - sometimes called a "skim" coat - is often needed to achieve a truly flat, invisible surface. Finish with 220-grit sandpaper for a smooth final texture.
[tip_callout]Prime and paint
Apply a coat of drywall primer or PVA sealer to the entire patched zone before painting. This step is non-negotiable - bare joint compound is highly porous and will absorb finish paint unevenly, creating a visible dull spot (called flashing) even after multiple paint coats. Once the primer is dry, paint to match the surrounding wall. For best results, roll paint over a slightly larger area than the patch to blend sheen and texture.
For more guidance on avoiding common finishing mistakes, see home improvement myths that cause costly repairs.

Author
Home Editorial Team
Home Editorial Team is the collective byline for our editorial team and contributor network. Articles published under this byline or an editorial pen name are researched, written, and reviewed according to our editorial standards for clarity, consistency, and independence before publication.
View all articles →