
Grout Sealing, Recoloring, and When to Replace It Entirely
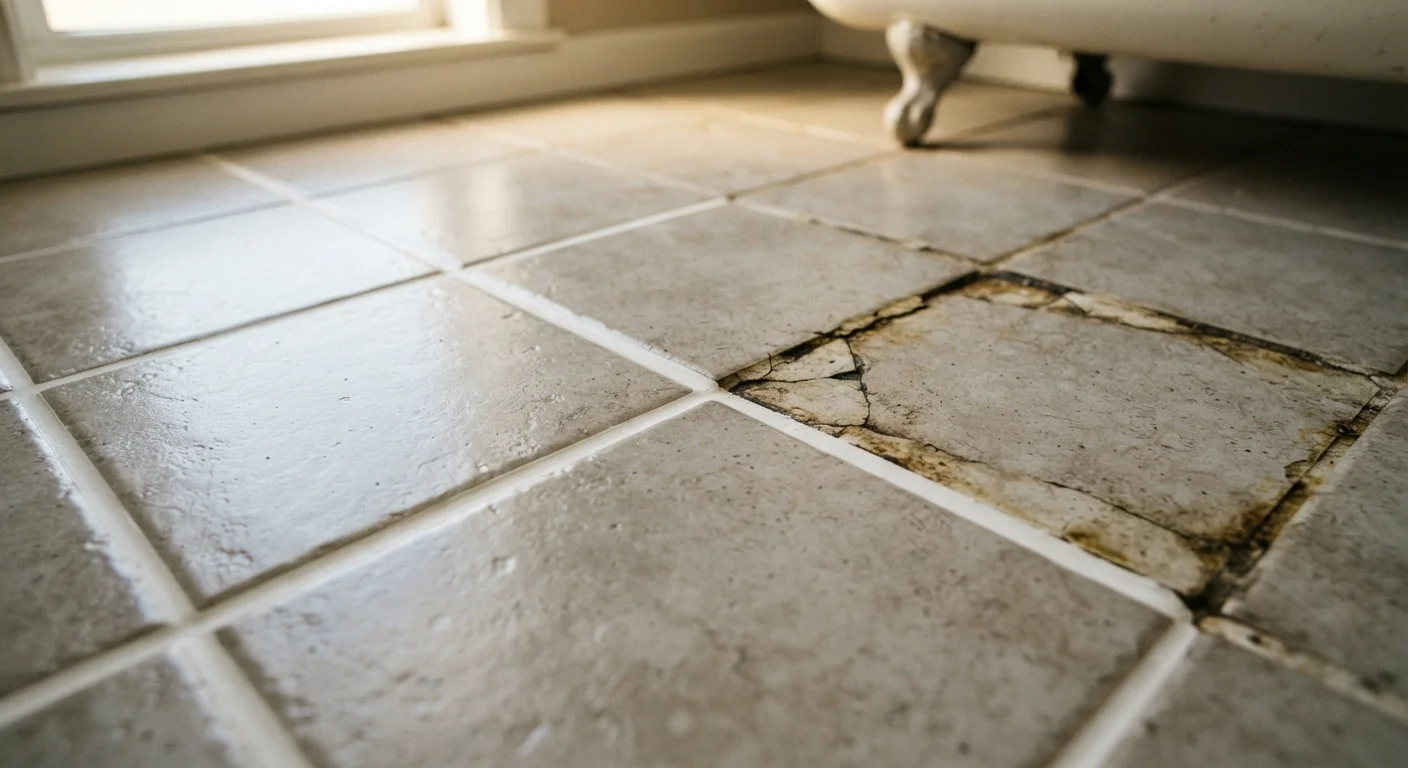
Photo credit: ProximityFinds.com | One-stop Reading Source
In this article
Stained or crumbling grout doesn't always need full retiling. Learn what each grout repair option involves and which situation calls for which fix.
Key Takeaways
- Sealing is preventive maintenance that protects grout from moisture and staining - it should be done every one to three years.
- Recoloring (also called grout staining) can restore discolored grout without removal when the grout is structurally sound.
- Cracked, crumbling, or mold-penetrated grout requires full replacement - no surface treatment will fix structural failure.
- Most sealing and recoloring projects are DIY-friendly; full regrout jobs often benefit from professional help, especially near water sources.
- Skipping grout maintenance can lead to water infiltration behind tiles, which is far more expensive to fix than the grout itself.
Reading Your Grout Before Picking a Fix
Grout problems range from cosmetic to structural, and the right repair depends entirely on where your grout falls on that spectrum. Before spending time or money, do a quick assessment:
- Press gently on grout lines. Solid, firm grout is structurally sound. Grout that flexes, crumbles, or flakes when touched is compromised.
- Look for cracks along tile edges or in the field. Hairline cracks can admit water; wide or recurring cracks often signal movement in the substrate beneath.
- Check for discoloration. Yellowing or dark staining that doesn't clean up with a grout brush and a pH-neutral cleaner suggests deep contamination - but not necessarily failure.
- Sniff for mildew. Musty odors near grout, especially in showers, may indicate mold growth beneath the surface, not just on it.
One useful rule of thumb from tile industry guidance: if more than 20-25% of your grout lines show physical damage, a full regrout is usually more cost-effective than spot repairs. If the grout is intact but just looks bad, you have options short of demolition. For a broader look at how this kind of diagnostic thinking applies to other home repairs, see our guide on home improvement myths that can lead to costly mistakes.
Grout Sealing: Routine Protection That Actually Works
Sealing is the most straightforward grout maintenance task and the one most homeowners skip. Most cement-based grout is porous - it readily absorbs water, oils, and pigments from everyday use. A quality grout sealer fills those pores with a water-resistant barrier.
Test Your Existing Sealer Before You Buy
Sprinkle a few drops of water onto your grout lines and watch what happens. If the water beads and holds for several minutes, your sealer is still working. If the water soaks in within 30 seconds or less, it's time to reseal. This quick test saves you from unnecessary reapplication and helps you build a realistic maintenance schedule.
Two Main Types of Sealer
- Penetrating (impregnating) sealers soak into the grout and bond at a molecular level. They don't change the grout's appearance and offer durable protection - typically lasting one to three years depending on traffic and moisture exposure.
- Topical (membrane-forming) sealers coat the surface. They can add a slight sheen and may be more prone to peeling over time in wet areas.
For most bathrooms and kitchens, penetrating sealers are generally preferred by tile professionals. Application is straightforward: clean the grout thoroughly, let it dry completely (at least 24-48 hours after any wet cleaning), apply the sealer with a small brush or applicator bottle, let it penetrate for a few minutes, then wipe off the excess before it dries on the tile face.
When to seal: New grout should cure for at least 48-72 hours before sealing. Existing grout should be resealed when a few drops of water no longer bead on the surface and instead absorb in under 30 seconds - a simple test you can do at home.
1-3 years
Typical grout sealer lifespan
Most penetrating sealers require reapplication every one to three years in regularly used wet areas, according to tile industry guidelines.
20-25%
Damage threshold favoring full regrout
Tile professionals generally recommend full regrout when more than roughly a quarter of grout lines show physical damage, as spot repairs become cost-inefficient.
Grout Recoloring: A Deeper Refresh Without Demolition
Grout stains and colorants - sometimes called grout paint - go a step beyond sealing. They deposit pigment into the grout surface and then seal it, effectively giving you a new color and a protective layer in one step. This is the right approach when grout is permanently discolored from years of use, iron deposits, or failed cleaning attempts, but is otherwise solid.
| Grout Sealing | Grout Recoloring | Full Replacement | |
|---|---|---|---|
| Best for | Intact, clean grout needing protection | Stained but structurally sound grout | Cracked, crumbling, or mold-damaged grout |
| Addresses structural failure | No | No | Yes |
| Changes grout color | No | Yes | Yes (new grout color chosen) |
| DIY difficulty | Easy | Moderate | Moderate to difficult |
| Typical time to complete | 1-2 hours plus dry time | Half day plus cure time | Full day or more per area |
| Longevity of results | 1-3 years before reapplication | Up to 5+ years | Indefinite with proper sealing |
| When to call a pro | Rarely needed | Large or complex areas | Shower enclosures, substrate concerns |
How Recoloring Works
- Deep clean first. Any residue, soap scum, or old sealer must be removed. Products with oxygen bleach are commonly used; acid-based cleaners may be needed for mineral deposits. Rinse thoroughly and let the grout dry completely.
- Apply the colorant. Use a small applicator brush and work the colorant into the grout line. Immediately wipe excess off tile faces before it dries - this step requires attention and patience.
- Allow full cure time. Most colorants require 24-72 hours before the area gets wet.
Recoloring works best on sanded grout with visible texture to hold the colorant. Very smooth or epoxy grout may not accept color products as readily. Results are durable - many products claim five or more years of performance - but the prep work determines the outcome. Sloppy prep leads to peeling and uneven color.
Full Grout Replacement: When There's No Shortcut
When grout has failed structurally - cracked through, crumbling away, or saturated with mold that's penetrated below the surface - removal and replacement is the only lasting fix. Surface treatments applied over compromised grout will fail quickly and may mask water damage that continues to worsen behind the wall or under the floor.
Don't Ignore Grout Failure Near Water Sources
Failed grout in showers, tub surrounds, and areas around sinks is not just a cosmetic issue - it's an entry point for water into the wall or subfloor. Water infiltration behind tile can lead to mold growth, rotted framing, and subfloor damage that costs significantly more to repair than the grout itself. If you notice soft spots in a wall or floor near failing grout, consult a licensed contractor before proceeding with any surface repair.
What Replacement Involves
Grout removal requires an oscillating tool with a grout-removal blade or a manual grout saw. The goal is to remove grout to a depth of about two-thirds of its thickness without chipping the tile edges - a task that rewards patience. Rushing this step is the most common cause of cracked or chipped tiles during regrout projects.
Once removed, fresh grout is mixed and packed into the joints, then finished with a damp float and sponge. Color matching existing tiles matters: bring a tile sample or photo when selecting grout color. For shower walls and wet areas, a grout with mold-inhibiting additives is worth considering.
DIY vs. professional: Regrout on a small backsplash or a few isolated tiles is a manageable DIY project. Large areas, shower enclosures, and floors with suspected substrate damage are better assessed by a licensed tile contractor, who can identify whether the issue is the grout itself or movement in the substrate beneath it. If you're considering a more involved tile project, our guide to tackling your first tiling project covers the foundational steps in detail.
Side-by-Side Comparison: Choosing the Right Approach
The table below summarizes the key differences between the three main grout repair options to help you match the fix to your situation. Just as drywall repair requires matching the scope of the fix to the severity of the damage, grout work follows the same logic.
| Grout Sealing | Grout Recoloring | Full Replacement | |
|---|---|---|---|
| Best for | Intact, clean grout needing protection | Stained but structurally sound grout | Cracked, crumbling, or mold-damaged grout |
| Addresses structural failure | No | No | Yes |
| Changes grout color | No | Yes | Yes (new grout color chosen) |
| DIY difficulty | Easy | Moderate | Moderate to difficult |
| Typical time to complete | 1-2 hours plus dry time | Half day plus cure time | Full day or more per area |
| Longevity of results | 1-3 years before reapplication | Up to 5+ years | Indefinite with proper sealing |
| When to call a pro | Rarely needed | Large or complex areas | Shower enclosures, substrate concerns |

Author
Home Editorial Team
Home Editorial Team is the collective byline for our editorial team and contributor network. Articles published under this byline or an editorial pen name are researched, written, and reviewed according to our editorial standards for clarity, consistency, and independence before publication.
View all articles →