
Tackling Your First Tiling Project Without Ruining the Wall
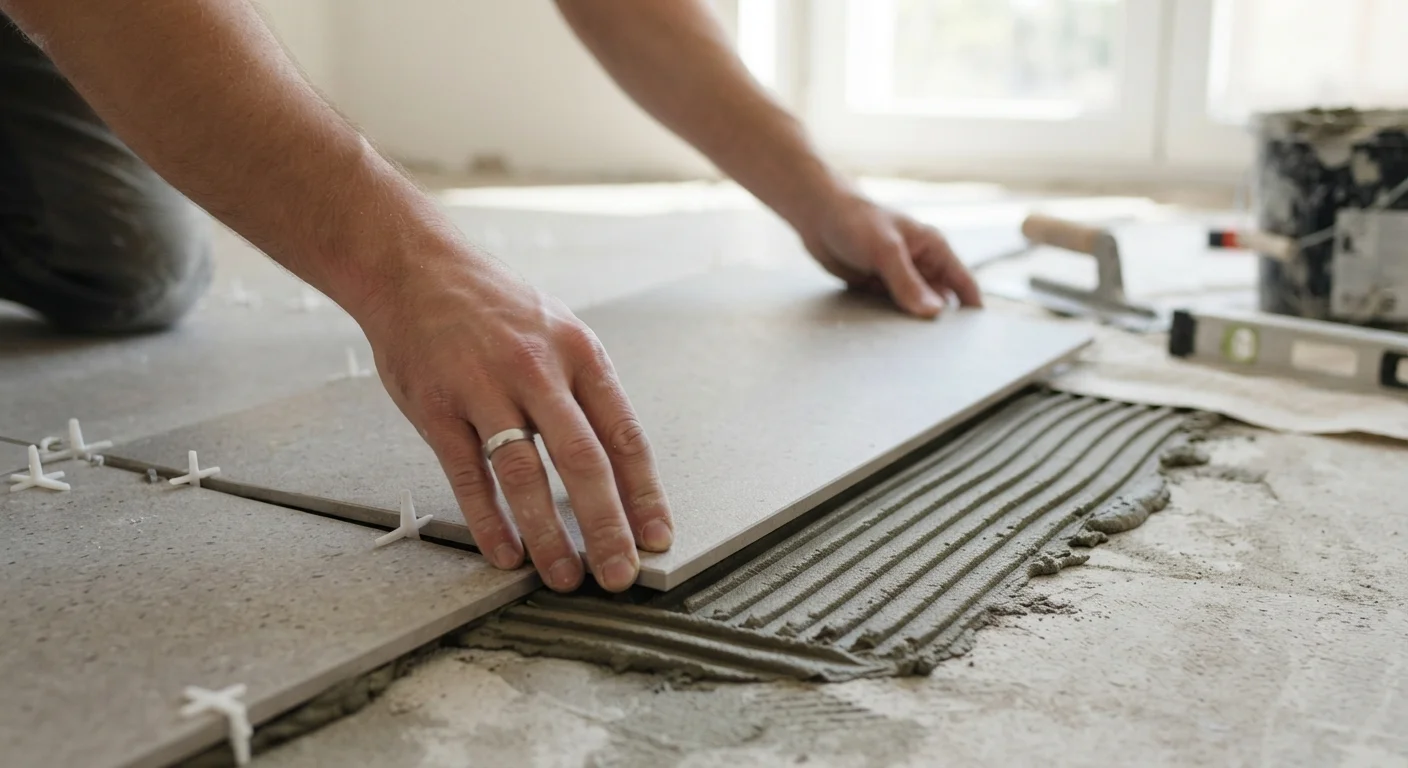
Photo credit: ProximityFinds.com | One-stop Reading Source
In this article
Surface prep, layout planning, adhesive selection, and spacing — the fundamentals that separate a lasting tile job from one that cracks or pops.
Key Takeaways
- Surface preparation is the single most important factor in tile longevity - skip it and tiles will fail.
- Dry-laying your tile pattern before applying adhesive prevents costly layout mistakes.
- Choosing the right adhesive type for your substrate and tile size significantly affects durability.
- Consistent spacing with tile spacers ensures grout lines are even and professional-looking.
- Grouting too soon after setting tiles can weaken adhesion - always respect cure times.
- First-time tilers should start with a flat, mid-size wall or floor section to build confidence.
Why Surface Prep Determines Whether Your Tile Lasts
Most first-time tilers focus their energy on picking the right tile. The professionals focus on what goes underneath it. A tile is only as stable as its substrate - if the surface flexes, holds moisture, or has high spots that prevent full adhesive contact, the tile will eventually crack, hollow out, or pop free entirely.
Floors must be structurally rigid. Deflection (the slight bounce you feel walking across a floor) is the enemy of tile. As a general guideline, tile industry standards recommend no more than L/360 deflection - meaning a 10-foot span should flex no more than 1/3 inch under load. If your subfloor feels springy, adding a layer of cement backer board and checking for loose joists is worth the effort before you lay a single tile.
Wall installations face a different challenge: achieving a flat, plumb surface. A twisted or bowed wall will force tiles out of alignment no matter how carefully you work. Take the time to find high and low points before mixing any adhesive. Common home improvement myths - like assuming a painted wall is ready to tile - lead to exactly the kind of failures that require a full teardown.
Never Tile Over Drywall in Wet Areas
Standard drywall (gypsum board) absorbs moisture and will eventually fail behind tile in bathrooms, showers, or anywhere water splashes regularly. Use cement board, moisture-resistant backer board, or a waterproofing membrane system instead. Installing tile over the wrong substrate is one of the most common - and expensive - first-timer mistakes. If you're unsure what's already on your wall, consult a licensed tile installer before proceeding.
Tools, Materials, and Layout Fundamentals
Having the right tools assembled before you begin prevents mid-project scrambles that lead to rushed decisions. Beyond the basics listed below, keep a bucket of clean water and plenty of sponges on hand throughout the project.
Notched trowel
Spreads thin-set adhesive with ridges that help tiles bond securely to the substrate.
Tile spacers
Maintain uniform grout-line width between tiles during installation.
Rubber mallet
Gently taps tiles into the adhesive bed for full, even contact without cracking.
Tile cutter or wet saw
Makes clean, precise cuts on tiles to fit edges, corners, and outlets.
Spirit level
Verifies that tiles are laid flat and plumb across the installation area.
Grout float
Presses grout into joints and removes excess from tile surfaces.
Cement backer board
Provides a moisture-resistant, stable substrate for tile in wet or high-traffic areas.
Find Your Center Before You Start
Measure and mark the center of your wall or floor, then dry-lay tiles outward from that point in both directions. This ensures cut tiles at the edges are symmetrical and that no awkward slivers appear in high-visibility corners. A few minutes with a tape measure and chalk line can save hours of regret.
Adhesive selection is where many beginners go wrong. Standard gray thin-set is the correct choice for most ceramic and porcelain tile on properly prepared substrates. White thin-set is used under light-colored or translucent tiles (like glass mosaic) to avoid show-through. Large-format tiles - anything over 15 inches - and natural stone often require a medium-bed or large-format mortar that resists sagging and slumping. Read the adhesive label for your specific tile type and substrate, and don't substitute based on what's convenient.
Respect Cure Times - No Exceptions
Thin-set mortar typically needs 24 hours to cure before grouting, and grout needs another 24-72 hours before the surface sees water or heavy foot traffic. Walking on or grouting tiles too early can shift them out of alignment or compromise adhesion. Always check the adhesive manufacturer's specific recommendations, as cure times vary by product and environmental conditions.
Following the Steps and Avoiding Common Errors
The steps below walk you through the full installation sequence. Read all of them before starting - understanding where the process is heading helps you make better decisions at each stage.
What you will need
Prepare and inspect the surface
Run your hand and a straightedge across the entire area. High spots can be ground down; low spots over 3/16 inch should be filled with a floor-leveling compound or wall skim coat. Remove any old adhesive, paint drips, or loose material. On walls, check for damage - patch any drywall holes or damaged sections before proceeding. In wet areas, install cement backer board and apply a waterproofing membrane per manufacturer instructions.
Plan your layout with a dry run
Find the center point of the room or wall and snap chalk lines in both axes. Dry-lay a full row of tiles outward from center in each direction, inserting spacers as you go. Adjust the starting point if needed so that border cuts are balanced and no tile is thinner than half its width. Mark your layout lines clearly - they are your installation guide.
Mix and apply adhesive
Follow the adhesive manufacturer's water-to-powder ratio precisely - thin-set that is too wet weakens bond strength. Mix to a peanut-butter consistency with no dry lumps. Using a notched trowel held at a 45-degree angle, spread adhesive over a small working section (roughly 2-3 square feet at a time) so it doesn't skin over before tiles are set. Back-butter large-format tiles (12 inches and over) by applying a thin layer directly to the tile back as well.
Set tiles and check for level
Press each tile firmly into the adhesive with a slight twisting motion, then tap with a rubber mallet to ensure full contact. Insert tile spacers at corners immediately. Check every few tiles with a spirit level in both directions - catching a lean early is easy; correcting it after the adhesive sets is not. Periodically lift a freshly set tile to confirm at least 80% of the back is covered with adhesive (95% in wet areas).
Cut border and edge tiles
Measure each edge space individually rather than assuming they're all the same - walls and floors are rarely perfectly square. Score-and-snap cutters work well for straight cuts on standard ceramic; a wet saw is necessary for porcelain, natural stone, and curved or angled cuts. Wear eye protection and follow the tool's safety guidelines closely. Set cut tiles in adhesive the same way as field tiles.
Allow adhesive to cure fully, then grout
Remove all tile spacers before the adhesive fully hardens (typically within a few hours). Allow the full cure time - usually 24 hours minimum - before grouting. Mix grout to the manufacturer's specified consistency and press it diagonally across joints with a grout float, working in small sections. Remove excess with a damp sponge before it hazes. Once haze develops on the tile surface, buff it off with a clean, dry cloth. For ongoing grout care, see our guide on grout sealing and recoloring options.
Once your project is complete and fully cured, applying a penetrating grout sealer is strongly recommended for any floor or wet-area installation. Sealer won't make poor installation better, but it will significantly extend the life of a well-done job by blocking staining and moisture intrusion.

Author
Home Editorial Team
Home Editorial Team is the collective byline for our editorial team and contributor network. Articles published under this byline or an editorial pen name are researched, written, and reviewed according to our editorial standards for clarity, consistency, and independence before publication.
View all articles →