
Everything You Should Know Before Starting a Basement Renovation
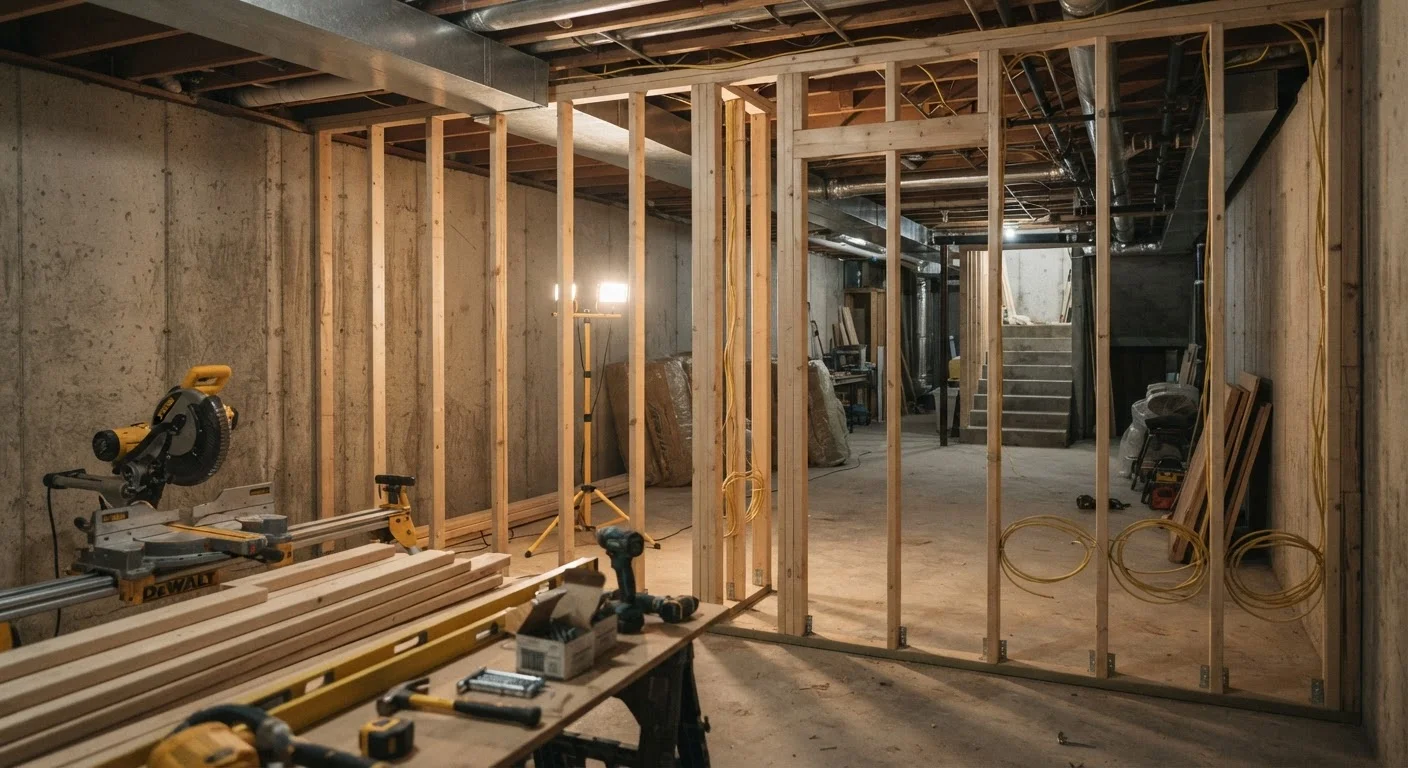
Photo credit: ProximityFinds.com | One-stop Reading Source
In this article
Moisture control, egress windows, permits, and framing — a comprehensive look at what basement finishing actually involves from start to finish.
Key Takeaways
- Moisture control must be resolved before any finishing work begins - no exceptions.
- Most jurisdictions require permits for basement finishing; egress windows are often mandatory for bedrooms.
- Rigid foam insulation outperforms fiberglass batts on concrete walls in most climates.
- Mechanical systems - HVAC, plumbing, electrical - need professional evaluation before walls close.
- Budget 10-20% above your estimate to absorb the surprises common in below-grade spaces.
Moisture: The Problem You Must Solve First
No finishing material - drywall, flooring, or insulation - survives in a wet basement. Before you pick a paint color or measure for a bar, spend real time diagnosing your moisture situation. Water in basements arrives two ways: liquid intrusion through cracks or gaps, and vapor diffusion through porous concrete walls and slabs.
Press a 12-inch square of plastic sheeting against your concrete wall and seal its edges with tape. Leave it for 48 hours. Condensation on the room side of the plastic indicates airborne humidity condensing on the cool surface - a ventilation and vapor management problem. Moisture on the wall side points to water migrating through the concrete itself, which requires more serious waterproofing.
Do Not Finish Over Active Water Intrusion
Covering a leaking or seeping wall with insulation and drywall does not solve the problem - it accelerates mold growth in a hidden space. If you observe any active seepage, efflorescence (white mineral deposits), or persistent dampness, address the waterproofing issue completely and allow adequate drying time before any finishing begins. Consult a licensed waterproofing professional for persistent or significant intrusion.
Interior drain-tile systems and sump pumps manage water that has already entered the foundation perimeter. They are effective, but they do not stop water from pushing through porous walls. If active seepage is present, consult a licensed waterproofing contractor before proceeding with any finishing work.
Skipping this step is one of the most expensive home improvement myths homeowners act on - the assumption that finished walls will simply hide dampness rather than trap and amplify it.
Permits, Codes, and Egress Requirements
Basement finishing almost universally requires building permits in the United States. Electrical, framing, and mechanical work each typically trigger separate inspections. Skipping permits may save time upfront but creates real problems when you sell the home or file an insurance claim.
Egress is one of the most consequential code requirements. Any room intended for sleeping - even occasionally - must have an egress window meeting minimum opening dimensions set by your local jurisdiction (typically aligned with International Residential Code requirements). Installing an egress window in a below-grade foundation wall is a significant excavation and masonry project; factor it into your scope if a bedroom is part of your plan.
Egress Requirements Vary by Jurisdiction
While the International Residential Code sets widely adopted standards for egress window dimensions, individual municipalities may adopt local amendments. Always confirm egress requirements with your local building department before finalizing bedroom placement or window specifications. Requirements can also vary for window wells when the sill is below grade.
Ceiling height is another code-driven factor. Most jurisdictions require a minimum finished ceiling height of 7 feet in habitable rooms, though utility areas may be lower. Measure your unfinished basement carefully - exposed beams, ductwork, and pipes frequently claim several inches of clearance. Like open-concept renovations, basements often reveal structural and mechanical constraints that floor plans never show.
Framing, Insulation, and the Envelope
Standard wood framing is typically set 1-2 inches away from concrete walls rather than against them, allowing air to circulate and preventing wood rot. Pressure-treated lumber is required wherever framing contacts concrete directly, such as the bottom plate on a slab.
Insulation strategy matters more in basements than almost anywhere else in the home. Fiberglass batts installed between studs are susceptible to moisture absorption and mold when used against concrete walls. Rigid foam board - extruded polystyrene (XPS) or polyisocyanurate - applied directly to the concrete before framing provides a more durable vapor retarder and continuous thermal break.
Run a dehumidifier in your unfinished basement for two full weeks and track daily readings before you commit to a finishing plan. If you cannot maintain relative humidity below 60% consistently, treat the moisture source before spending a dollar on materials.
Mold begins colonizing organic materials at sustained relative humidity above 60%. Establishing a baseline before framing avoids trapping a humidity problem inside finished walls.
When framing basement walls, snap a chalk line 1.5-2 inches from the concrete and frame to that line - never against the wall. This gap dramatically reduces the risk of framing lumber wicking moisture from the foundation.
Direct wood-to-concrete contact accelerates rot and mold formation. Building codes in many jurisdictions require this clearance or mandate pressure-treated lumber at contact points.
Once framing and insulation are in place, drywall installation is straightforward, but use moisture-resistant drywall (commonly called greenboard or paperless drywall) throughout the basement, not just in bathrooms. Standard drywall facing is susceptible to mold in persistently humid below-grade conditions.
Mechanical Systems: HVAC, Plumbing, and Electrical
Finishing a basement changes how your home's mechanical systems perform. Your existing HVAC system may not have adequate capacity to condition the added square footage. Have an HVAC technician assess your system before sealing walls - adding a return-air duct and extending supply runs is far simpler before drywall goes up.
Adding a bathroom requires either connecting to existing drain lines - which must slope properly to the main stack - or installing an ejector pump system if your floor drain cannot gravity-feed the sewer. Rough-in plumbing in a basement slab means concrete cutting; it is a job for a licensed plumber.
Electrical work in a finished basement requires permits and must meet code for the number of circuits, outlet spacing, AFCI and GFCI protection, and panel capacity. Do not attempt to add circuits to an already overloaded panel without a licensed electrician evaluating load. This is categorically different from surface-level work; refer to local codes and a qualified professional before proceeding.
Electrical and Gas Work Requires Licensed Professionals
Basement finishing frequently involves adding circuits, relocating panels, or extending gas lines for appliances. This work is regulated, requires permits, and must be inspected. Performing unpermitted electrical or gas work is dangerous and may void your homeowner's insurance. Always hire a licensed electrician and licensed plumber or gas fitter for these systems.
Flooring and Ceiling Choices for Below-Grade Spaces
Concrete slabs experience minor seasonal movement and are prone to moisture vapor transmission, which eliminates some flooring options entirely. Solid hardwood is generally not recommended below grade. Engineered hardwood, luxury vinyl plank (LVP), and ceramic or porcelain tile all perform well when the slab is properly prepared and dry.
If you plan to tile, surface prep and layout are critical - see our guide on tackling your first tiling project for the fundamentals. A floating subfloor system using sleepers or dimple-mat panels over the slab adds warmth underfoot and accommodates minor vapor while providing a nailing surface for floor finishes.
For ceilings, a drop (suspended) ceiling grid preserves access to plumbing, electrical, and HVAC components above - a practical advantage in basements where future access is nearly certain. Drywall ceilings provide a cleaner finish but make future repairs significantly more disruptive.
~70%
Of basements experience moisture at some point
According to the American Society of Home Inspectors, approximately 60-70% of U.S. homes experience some form of below-grade moisture.
$25-$50/sq ft
Typical basement finishing cost range
HomeAdvisor and similar cost-aggregation sources cite a broad national average that varies significantly based on scope, region, and existing conditions.
5-6 ft
Minimum egress window opening area (sq ft)
International Residential Code (IRC) requires a minimum of 5.7 square feet of net clear opening for egress windows in sleeping rooms.
Budgeting Realistically and Managing the Project
Basement finishing costs vary significantly by region, scope, and existing conditions, but the consistent pattern is that below-grade projects surface hidden costs: unexpected moisture, outdated wiring panels, insufficient ceiling height requiring structural work, or undersized HVAC. Build a contingency of at least 10-20% into your budget from the start.
Sequencing matters. The correct order is: waterproofing → rough mechanical (plumbing, electrical, HVAC) → framing → insulation → inspections → drywall → finishes. Do not skip or reorder steps. Calling for inspections at the right stages protects you legally and catches errors before they are buried in walls.
Decide early which work you will do yourself and which requires licensed trades. Framing, painting, and finish carpentry are common DIY tasks. Electrical panel work, gas lines, and drain-in-slab plumbing are not. Honest scoping up front prevents the midproject scramble of hiring emergency contractors when work stalls.
This article is for general informational and educational purposes only. Home renovation projects may involve electrical, structural, plumbing, and other regulated work. Always verify local permit requirements and consult licensed professionals before undertaking work that may affect the safety or structural integrity of your home.

Author
Home Editorial Team
Home Editorial Team is the collective byline for our editorial team and contributor network. Articles published under this byline or an editorial pen name are researched, written, and reviewed according to our editorial standards for clarity, consistency, and independence before publication.
View all articles →