
Why Your Seedlings Keep Dying After Transplant
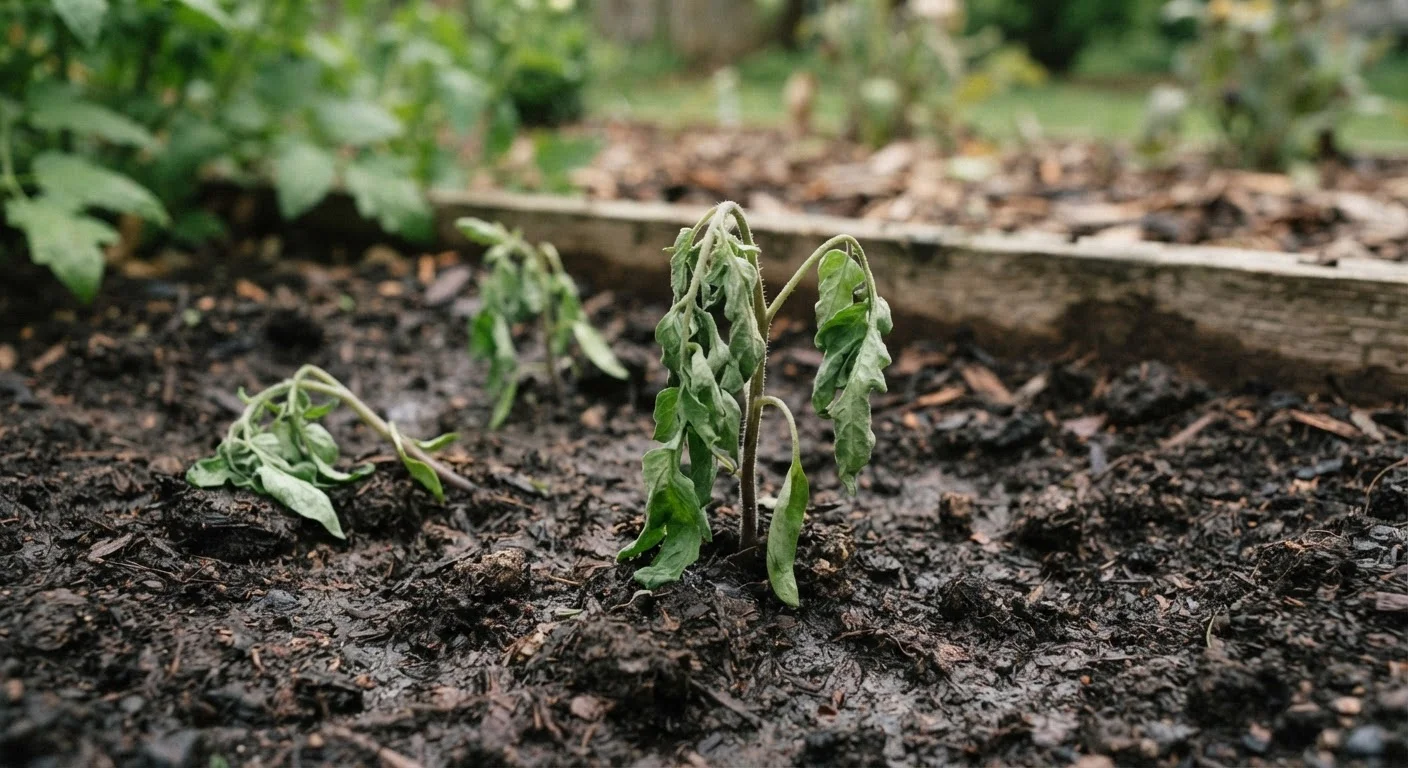
Photo credit: ProximityFinds.com | One-stop Reading Source
In this article
Transplant shock is one of the most common setbacks new gardeners face. Learn what causes it and how to move seedlings with minimal stress.
Key Takeaways
- Transplant shock is triggered by root damage, environmental stress, and timing errors during the move.
- Hardening off - gradually exposing seedlings to outdoor conditions - is essential before transplanting.
- Watering practices before and after transplanting directly determine whether seedlings survive.
- Most transplant failures are preventable with proper preparation and careful handling.
What Transplant Shock Actually Is
Transplant shock describes the stress a seedling experiences when moved from one growing environment to another. Roots are disturbed, the moisture level changes, light intensity shifts, and the plant must simultaneously repair itself and adapt to new conditions. The result is often wilting, yellowing leaves, or complete collapse - even when the seedling looked perfectly healthy moments before.
Understanding what drives shock is the first step toward preventing it. If you're just getting started with growing from seed, our beginner's garden planning guide covers the foundational decisions that set you up for success well before transplant day.
Skipping the hardening-off process entirely.
Why it happens: Indoor-grown seedlings are accustomed to stable temperatures, gentle light, and still air. Many gardeners, eager to get plants in the ground, move them outside permanently without any transition period.
Transplanting at the wrong time of day or in extreme heat.
Why it happens: Midday planting is tempting when gardeners have time available, but high temperatures and direct sun accelerate moisture loss from leaves and roots before the plant can establish.
Damaging or disturbing the root ball during the move.
Why it happens: Roots are fragile, and careless handling - squeezing the stem, yanking the plant free, or letting the root ball crumble - severs the fine root hairs responsible for water uptake.
Planting too deep or too shallow.
Why it happens: Gauging proper depth by eye is deceptively tricky, especially in loose or amended soil that compresses after watering.
Transplanting into unprepared or poorly draining soil.
Why it happens: The excitement of planting day often means the bed prep step gets rushed or skipped, leaving seedlings in compacted, nutrient-depleted, or waterlogged ground.
How to Give Transplanted Seedlings Their Best Chance
Even after avoiding the mistakes above, a few positive habits dramatically improve survival rates.
7-10 days
Recommended hardening-off period before transplanting
Most cooperative extension services and university horticulture programs recommend a gradual 7-10 day transition period to acclimate indoor seedlings to outdoor conditions.
~50%
Root hairs lost during a typical bare-root transplant
Horticultural research indicates that bare-root transplants commonly lose around half their fine root hairs, significantly reducing the plant's initial water-uptake capacity.
Water at the right time. Water the seedling's original container thoroughly an hour before transplanting. This hydrates the root ball and helps it hold together during the move. After planting, water in gently but deeply to eliminate air pockets around the roots. For ongoing watering guidance, see our article on garden watering habits that help plants thrive.
Transplant in the right conditions. Overcast days or early evening are ideal - cooler temperatures and lower light reduce the immediate moisture demand on stressed roots. Avoid transplanting into bone-dry or waterlogged soil; both extremes compound root stress.
Choose the right growing setup. Whether you're moving seedlings into raised beds or in-ground beds affects how quickly roots establish. Explore the trade-offs in our raised beds vs. in-ground planting comparison to find the approach that suits your space.
Don't Fertilize Immediately After Transplanting
Applying fertilizer right after transplanting can burn already-stressed roots, making recovery harder. Wait until you see clear signs of new growth - usually one to two weeks after transplanting - before introducing any fertilizer. At that point, a diluted, balanced formula is a safer starting point than a high-nitrogen feed.
Patience matters too. Many seedlings look worse for three to five days after transplanting before they begin to recover. Resist the urge to over-fertilize or over-water during this window - both can cause more harm than good. And if you've been following advice that hasn't been working, it may be worth reviewing common garden myths that mislead beginners.

Author
Home Editorial Team
Home Editorial Team is the collective byline for our editorial team and contributor network. Articles published under this byline or an editorial pen name are researched, written, and reviewed according to our editorial standards for clarity, consistency, and independence before publication.
View all articles →