
Planning a Garden Layout That Works With Your Yard's Light
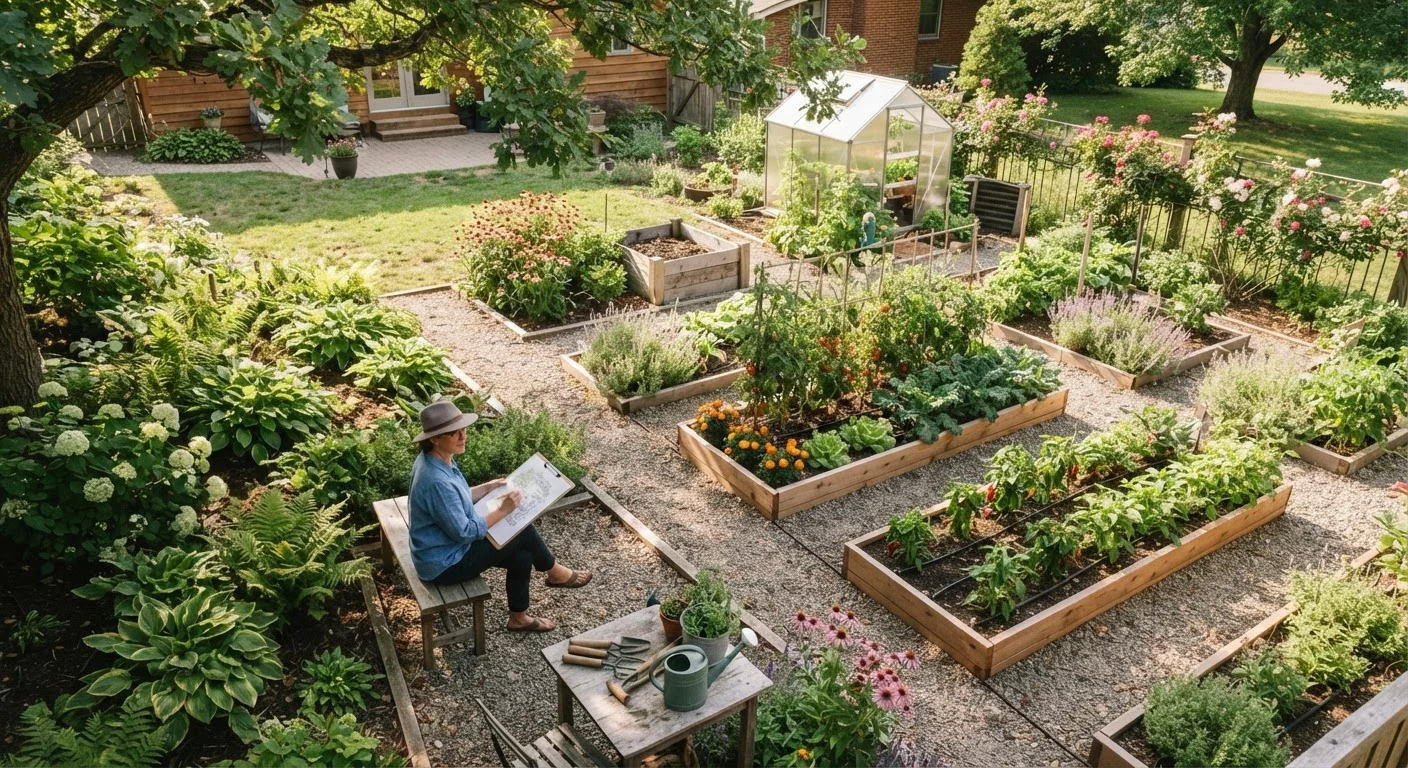
Photo credit: ProximityFinds.com | One-stop Reading Source
In this article
Sunlight is the most important factor in garden placement. Use this guide to map your yard's light patterns before you plant a thing.
Key Takeaways
- Sunlight is the single most critical factor in deciding where to place garden beds.
- Tracking light across your yard at multiple times of day reveals full-sun, part-sun, and shade zones.
- Matching plants to the right light zone dramatically reduces maintenance and plant loss.
- Structures, trees, and fences create shade patterns that shift with the seasons.
- A simple hand-drawn map is all you need to plan an effective, light-aware garden layout.
Why Light Mapping Comes Before Anything Else
Many gardeners pick up transplants at a nursery and then figure out where to put them - which is essentially working backward. Sunlight availability determines which plants can survive in a given spot, how quickly they'll grow, and how productive they'll be. A tomato plant starved of sun won't fruit well no matter how rich the soil is; a shade-loving fern baked in afternoon sun will wilt and struggle.
Before you dig a single bed or buy a single seed packet, take the time to understand how sunlight moves across your specific yard. Every lot is different. Neighboring houses, mature trees, fences, and even your home's orientation all create a patchwork of light zones that change throughout the day - and across seasons. Once you know what you're working with, matching plants to places becomes almost intuitive.
If you're also working with limited outdoor space, container gardening offers flexible solutions that let you move plants to follow the sun.
What you will need
How to Map Light Across Your Yard
Light mapping takes one full day of observation - no special equipment required. Follow these steps to build a clear picture of your yard's sun and shade patterns before you commit to any layout decisions.
Sketch a rough outline of your yard
Draw a simple top-down outline of your property on paper. You don't need exact measurements - just a proportional sketch that includes your house footprint, any outbuildings, fences, large trees, and existing garden beds. Label compass directions (north, south, east, west) using a compass app on your phone if needed. In the Northern Hemisphere, south-facing areas typically receive the most sun throughout the day.
Observe and mark light at three times of day
Go outside at three distinct times: morning (around 9 a.m.), midday (around noon), and late afternoon (around 3-4 p.m.). At each visit, note which areas of your yard are in direct sunlight and which are shaded. Use a different colored marker for each time of day, shading the corresponding zones on your sketch. Over the three observations, a clear picture of full-sun, part-sun, and full-shade areas will emerge.
Identify and label your light zones
Review your marked-up sketch and draw boundaries around three types of zones: full sun (sunlit in all three observations), part sun (sunlit in one or two observations), and full shade (shaded in all three). Label each zone clearly. Note any areas with dappled light - such as under a tree canopy - as a subcategory of part shade, since filtered light behaves differently than open shade.
Account for seasonal and structural shade shifts
Structures cast fixed shadows, but trees and the sun's arc both change with the seasons. If you have deciduous trees, remember they'll block more light in summer when leafed out than in spring or fall. Note any areas on your map where shade sources are seasonal, and plan accordingly - for example, a bed under a bare-branched tree in April may be suitable for cool-season vegetables even if it becomes shaded by July.
Overlay your intended garden beds on the light map
Using your completed light map as a guide, sketch in where you want to place garden beds. Position vegetable and herb gardens in your highest-sun zones. Reserve shadier areas for shade-tolerant ornamentals or seating. If your sunniest area is in an inconvenient location - far from a water source, for instance - note that constraint and plan for it with drip irrigation or a longer hose run rather than sacrificing light for convenience.
Repeat the Process Each Season
A light map done in summer may not reflect spring or fall conditions, especially if you plan to grow cool-season crops. Sun angles are lower in early spring and late fall, meaning areas shaded by your house or fences may actually receive more direct light than they do in June. Taking a quick second-pass observation in early spring takes only one day and can significantly improve your planting decisions for the full year.
Once your light map is complete, cross-reference it with what you know about your soil. Soil type affects drainage and nutrient availability, which interact with light to determine plant health. Our guide on identifying your backyard soil type is a practical next step.
Assigning Plants to Zones
With your light map in hand, you can start matching plants to the zones that suit them. Here's how the standard light categories on plant labels translate to real-world garden planning:
- Full sun (6+ hours of direct sun daily): Ideal for most vegetables - tomatoes, peppers, squash, beans - as well as lavender, echinacea, and most annual flowers.
- Part sun / part shade (3-6 hours): Works well for herbs like parsley and cilantro, leafy greens like lettuce and spinach, and shade-tolerant perennials like astilbe.
- Full shade (fewer than 3 hours of direct sun): Reserve for ferns, hostas, impatiens, and other plants specifically bred for low-light conditions.
Keep in mind that light conditions shift with the seasons. A bed that gets full sun in July may receive significantly less in April when the sun sits lower in the sky and deciduous trees still have leaves. Consider doing a secondary light check in early spring if you're planting cool-season crops.
Don't Plant by Label Alone
Plant tags give general light guidelines, but microclimates in your yard - like heat reflected off a south-facing wall or cool air pooling in a low corner - can make a spot behave differently than its raw sun hours suggest. Use your light map as a foundation, but observe how your first plantings actually perform and adjust future layout decisions based on real results.
Once your garden layout is set, use the spring garden prep checklist to get each zone ready for the growing season, from amending soil to scheduling planting dates.

Author
Home Editorial Team
Home Editorial Team is the collective byline for our editorial team and contributor network. Articles published under this byline or an editorial pen name are researched, written, and reviewed according to our editorial standards for clarity, consistency, and independence before publication.
View all articles →