
Setting Up a Home Theater System Without Hiring Someone to Do It
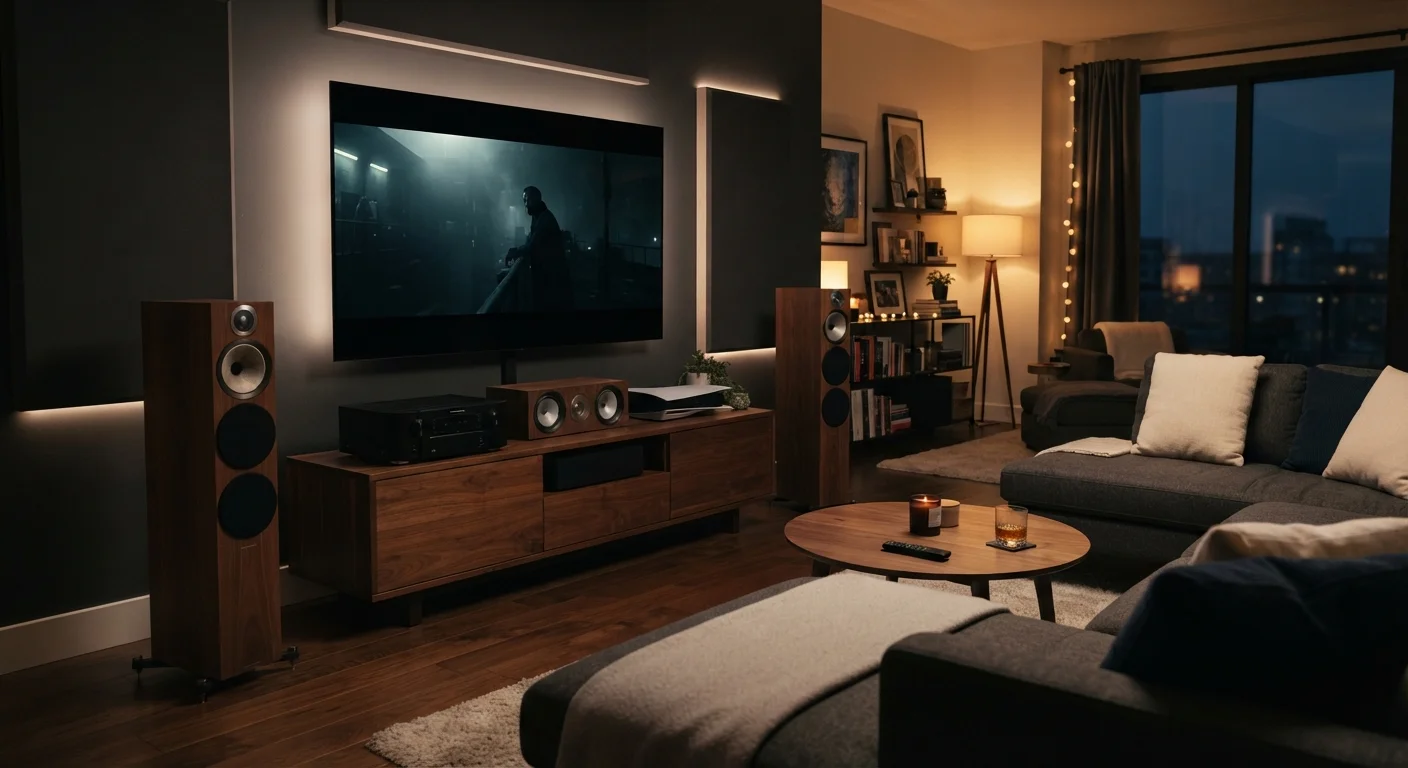
Photo credit: ProximityFinds.com | One-stop Reading Source
In this article
From HDMI connections to speaker placement and audio calibration, here's a practical walkthrough for assembling a home theater system yourself.
Key Takeaways
- Planning speaker placement and cable runs before mounting anything saves significant rework time.
- An AV receiver acts as the central hub connecting your TV, speakers, and source devices.
- HDMI eARC is the current standard for passing high-quality audio from a TV back to a receiver.
- Most modern receivers include automatic room calibration that adjusts audio for your specific space.
- Proper display calibration after setup is as important as any hardware connection.
What You'll Need Before You Start
A home theater system is built around three core subsystems: video delivery, audio amplification, and speaker placement. Before touching a single cable, gather everything listed below and read your receiver's manual cover to cover - manufacturers differ significantly in how they handle input labeling and speaker configuration menus.
What you will need
AV Receiver
Amplifies audio signals and routes video and audio between all connected devices.
High Speed HDMI Cables
Carry 4K or 8K video and high-definition audio between receiver, TV, and source devices.
Speaker Wire (16 or 14 AWG)
Transmits amplified audio from the receiver's speaker terminals to each speaker.
Wire Stripper
Removes insulation from speaker wire ends for secure connection at binding posts.
Calibration Microphone
Measures acoustic response in the room during automatic receiver calibration; usually included with the receiver.
Cable Ties or Velcro Straps
Keeps speaker wire and HDMI cables organized and prevents tripping hazards.
Painter's Tape
Marks speaker placement positions on the floor without damaging surfaces.
If you're building your first home tech setup from the ground up, the broader context in our guide to building a home tech setup from scratch can help you prioritize purchases before you commit to a full surround system.
Step-by-Step: Connecting and Calibrating Your System
Work through these steps in order. Skipping ahead - particularly to speaker placement before the receiver is configured - often results in calibration errors that require starting over.
Map Your Speaker Positions Before Mounting Anything
Use painter's tape to mark the floor positions for your front-left, front-right, center, and surround speakers. ITU and Dolby both publish reference angles: front speakers at roughly 22-30° off center axis, surrounds at 90-110° from the listening position. The center channel sits directly above or below your TV, aimed at ear level.
Measure and note cable run distances from each speaker position to your receiver location. This determines how much wire to buy and whether in-wall routing is worth the effort.
Position and Connect the AV Receiver
Place the receiver on an open shelf in your media console - it generates significant heat and needs at least two inches of clearance above it. Connect your speakers using stripped speaker wire, matching polarity (positive to positive, negative to negative) at both the receiver terminal and the speaker binding post. Swapped polarity causes phase cancellation and noticeably muddy bass.
Run HDMI Connections Between Devices and TV
Connect your source devices (streaming player, gaming console, Blu-ray player) to the HDMI inputs on the receiver. Then run a single HDMI cable from the receiver's HDMI output to your TV's HDMI eARC port - this single cable carries both video upstream and audio downstream. Confirm eARC is enabled in your TV's audio output settings; many TVs ship with it disabled or set to legacy ARC by default.
Connect the Subwoofer
Most subwoofers use a single RCA cable from the receiver's dedicated subwoofer pre-out jack. Set the subwoofer's built-in crossover dial to its highest position (typically 150Hz or 'LFE') and let the receiver's calibration software determine the actual crossover frequency - overriding that in hardware before calibration introduces unpredictable overlap with the front speakers.
Run Automatic Room Calibration
Place the calibration microphone at your primary listening position at ear height - most receivers include a small tripod or clip for this. Follow the on-screen prompts to start the measurement process. The receiver will emit test tones from each speaker, measure the response, and automatically configure speaker distances, levels, and crossover frequencies. This process typically takes 5-10 minutes.
Verify Video Output and Adjust Display Settings
After calibration, confirm your TV is receiving the correct video signal format from the receiver. Navigate to your TV's picture settings and switch from any 'Vivid' or 'Dynamic' preset to 'Movie' or 'Cinema' mode - these presets are generally closer to reference calibration. Disable any motion smoothing processing (often labeled 'TruMotion,' 'MotionFlow,' or 'Auto Motion Plus' depending on manufacturer) unless you prefer that look for sports content.
In-Wall Wiring May Require a Permit
Routing speaker wire or HDMI cables through walls is common in home theater installs, but low-voltage wiring in walls is subject to local building codes in many US jurisdictions. Some areas require CL2- or CL3-rated in-wall cable specifically. Check with your local building department before cutting into drywall, and consider hiring a licensed electrician if the run involves passing through a firewall or floor cavity.
Once hardware connections are done, picture quality deserves the same attention as audio. Showroom TVs are deliberately over-brightened; our article on why your streaming picture looks worse than the store demo explains which display settings are worth adjusting after setup.
Understanding Your Setup's Trade-Offs
A full surround receiver-and-speaker system delivers audio performance that a soundbar cannot match at any price point - but it also requires more space, more cable management, and a longer setup time. If your room is small or cable routing isn't feasible, a high-quality soundbar with a dedicated subwoofer is a reasonable middle ground. Our soundbar trade-offs breakdown covers exactly what you gain and give up with that path.
Save Your Calibration Results
Most receivers allow you to save multiple calibration profiles. Run one calibration for your primary listening position and a second with the microphone slightly off-center to average the room response. Labeling and toggling between these profiles takes less than a minute and noticeably improves sound for different seating arrangements.
For rooms with irregular shapes - alcoves, vaulted ceilings, or open floor plans - the automatic calibration microphone included with most mid-range and above receivers does a surprisingly effective job compensating for acoustic anomalies. Trust the measurement process rather than manually guessing distance and level values.

Author
Technology Editorial Team
Technology Editorial Team is the collective byline for our editorial team and contributor network. Articles published under this byline or an editorial pen name are researched, written, and reviewed according to our editorial standards for clarity, consistency, and independence before publication.
View all articles →