
Small Upgrades That Make a Measurable Difference in Home Comfort
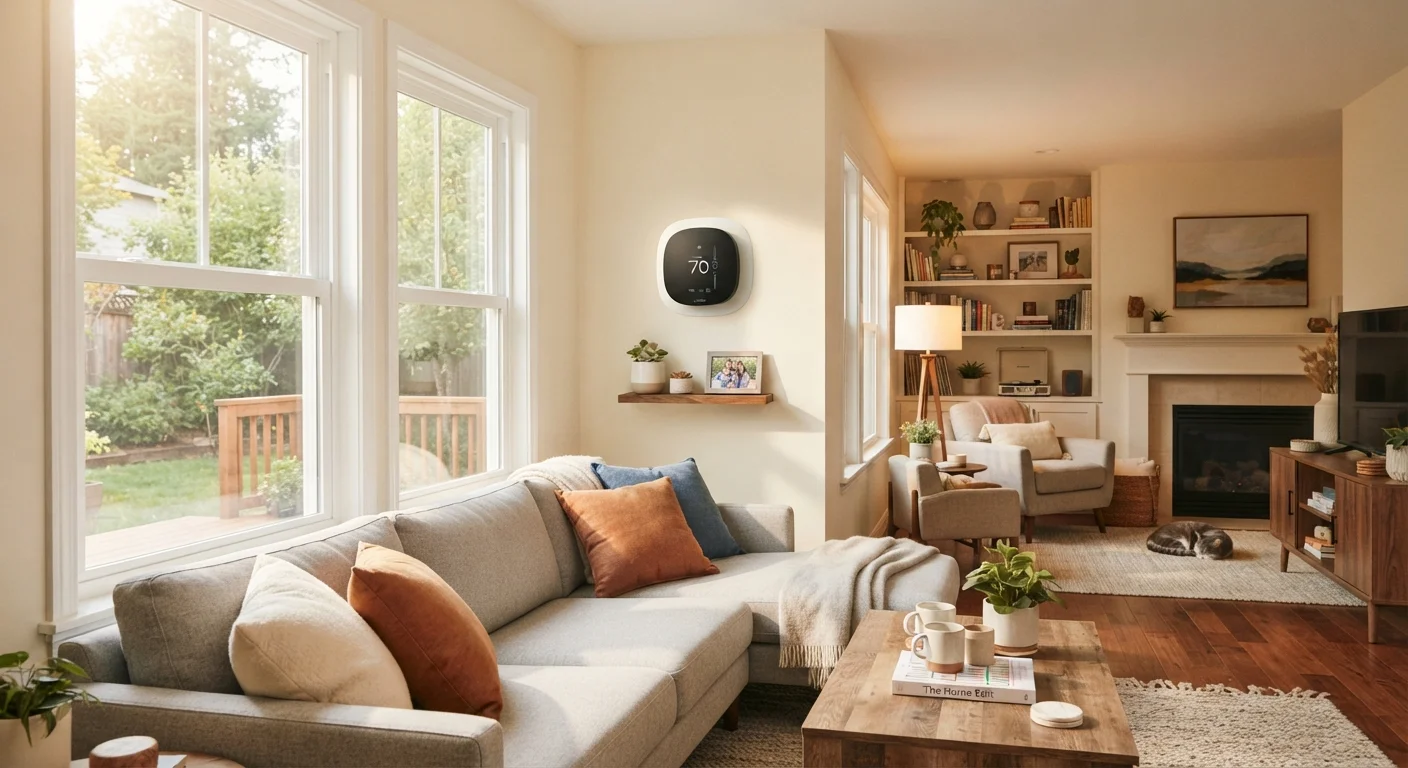
Photo credit: ProximityFinds.com | One-stop Reading Source
Door thresholds, attic hatch insulation, programmable thermostats — targeted improvements that address real comfort and efficiency gaps at home.
Key Takeaways
- Sealing air leaks at doors, windows, and attic hatches is one of the most cost-effective comfort improvements.
- Programmable or smart thermostats reduce temperature inconsistency without requiring major HVAC work.
- Ceiling fan direction adjustments for season can noticeably improve perceived temperature in any room.
- Attic hatch insulation is a frequently overlooked gap that allows significant conditioned air to escape.
- Low-flow aerators and door sweeps are quick swaps that deliver outsized comfort and efficiency returns.
Why Small Fixes Outperform Big Renovations for Comfort
Homeowners often assume meaningful comfort improvements require gutting a bathroom or replacing an HVAC system. In reality, a large share of discomfort - drafts, uneven temperatures, noise intrusion, and humidity swings - traces back to a handful of overlooked weak points that are inexpensive to fix. These targeted upgrades don't just feel better; they address measurable inefficiencies in how your home manages air, heat, and moisture.
Whether you're preparing for a sale or simply want to enjoy your space more, this list covers upgrades that deliver real, perceptible results. For a broader seasonal perspective on upkeep, the Seasonal Home Maintenance checklist is a useful companion resource.
Seal the Attic Hatch
The pull-down attic stair or simple hatch cover in most homes is rarely insulated - and it sits directly in the ceiling, allowing conditioned air to escape into an unconditioned space year-round. Adding a rigid foam cover or a pre-made insulated tent over the attic side of the hatch is a straightforward DIY project. Aim for insulation that brings the hatch assembly up to the same R-value as the surrounding attic floor (commonly R-30 to R-60, depending on your climate zone). The U.S. Department of Energy identifies attic air sealing as one of the highest-impact weatherization measures available to homeowners.
An uninsulated attic hatch quietly bleeds conditioned air year-round - covering it costs little and pays dividends immediately.
Replace or Add Door Sweeps and Thresholds
Exterior doors are common sources of air infiltration, especially in older homes where the threshold has worn down or the door sweep was never installed properly. A door sweep - a strip attached to the bottom of the door - closes the gap between the door and threshold when the door is shut. Adjustable thresholds allow you to raise the contact surface to meet the sweep more snugly. Together, these two components can eliminate visible daylight gaps under exterior doors, which are a reliable sign of meaningful air and noise leakage.
If you can see daylight under a closed exterior door, you're losing conditioned air and inviting outdoor noise inside.
Install a Programmable or Smart Thermostat
Manually adjusting a thermostat throughout the day rarely happens consistently. A programmable thermostat - or a smart model that learns usage patterns - maintains temperature schedules automatically, reducing the swings that make rooms feel uncomfortable in early morning or late evening. Installation typically involves connecting four to five low-voltage wires and is within reach of most DIYers; however, if your system uses more complex wiring (heat pumps with auxiliary heat, for example), consulting an HVAC technician ensures the device is configured correctly. The EPA's ENERGY STAR program notes that properly used programmable thermostats can meaningfully reduce heating and cooling energy use.
Consistent temperature scheduling - not manual adjustment - is what eliminates the comfort gaps most households notice.
Reverse Ceiling Fan Direction Seasonally
Most ceiling fans have a small direction switch on the motor housing. In summer, blades should spin counterclockwise (when viewed from below), pushing air straight down and creating a wind-chill effect. In winter, switch to clockwise rotation at low speed; this draws cool air up and gently pushes warm air that has risen to the ceiling back down along the walls. This simple reversal, repeated each season, can reduce reliance on heating and cooling systems in rooms where the fan is running. It costs nothing beyond a moment to flip the switch.
Reversing your ceiling fan takes seconds and makes a noticeable difference in how a room feels in both winter and summer.
Caulk Around Window and Door Frames Inside
Exterior caulking gets most of the attention, but the interior perimeter of window and door frames - where the trim meets the drywall - is also a pathway for air movement. These gaps form as houses settle and materials expand and contract with temperature changes. A bead of paintable latex caulk along these interior joints seals the connection, reduces draft intrusion, and takes less than an afternoon to complete for an entire floor. It also improves the finished appearance of trim work, which matters if you're planning to list your home. The research on home staging suggests that clean, well-maintained finishes influence buyer perception more than most sellers expect.
Interior caulking around window trim is a two-hour task that improves both air sealing and the finished look of every room.
Add Foam Gaskets Behind Outlet and Switch Plates
Electrical outlets and light switches on exterior walls are surprisingly significant sources of air infiltration. The boxes are set into the wall without insulation behind the cover plates, creating a direct path from the wall cavity - often connected to exterior air - into your living space. Pre-cut foam gaskets sized for standard outlet and switch plates are inexpensive and install in seconds: remove the cover plate, press the gasket against the box, replace the plate. Building scientists frequently cite these as a high-return air-sealing measure relative to the effort involved. Always turn off the circuit at the breaker panel before removing any electrical cover plate.
Foam gaskets behind outlet covers on exterior walls take seconds to install and close off a surprisingly large air pathway.
Putting It All Together
None of these upgrades requires a contractor visit or a large budget. What they share is precision - each one addresses a specific, identifiable gap rather than applying a broad fix to a vague problem. Start with an informal walk-through of your home, noting where you feel drafts, where temperatures fluctuate most, or where noise and humidity bother you. That observation becomes your upgrade priority list.
Start With a Simple Air-Leak Audit
Before buying any materials, walk through your home on a windy day with a stick of incense or a damp hand near door frames, window edges, outlet plates, and attic access points. Smoke movement or a perceptible chill tells you exactly where to focus first. This informal audit takes under an hour and ensures your upgrades target the actual problem areas rather than guesswork.
If you're also thinking about how these improvements affect resale, the guide to preparing your home for the market covers which fixes buyers actually notice. For larger structural changes - like removing walls to improve airflow - it's worth reading about what open-concept renovations actually involve before committing.

Author
Home Editorial Team
Home Editorial Team is the collective byline for our editorial team and contributor network. Articles published under this byline or an editorial pen name are researched, written, and reviewed according to our editorial standards for clarity, consistency, and independence before publication.
View all articles →