
Switching Carriers Without Losing Your Number or Your Mind
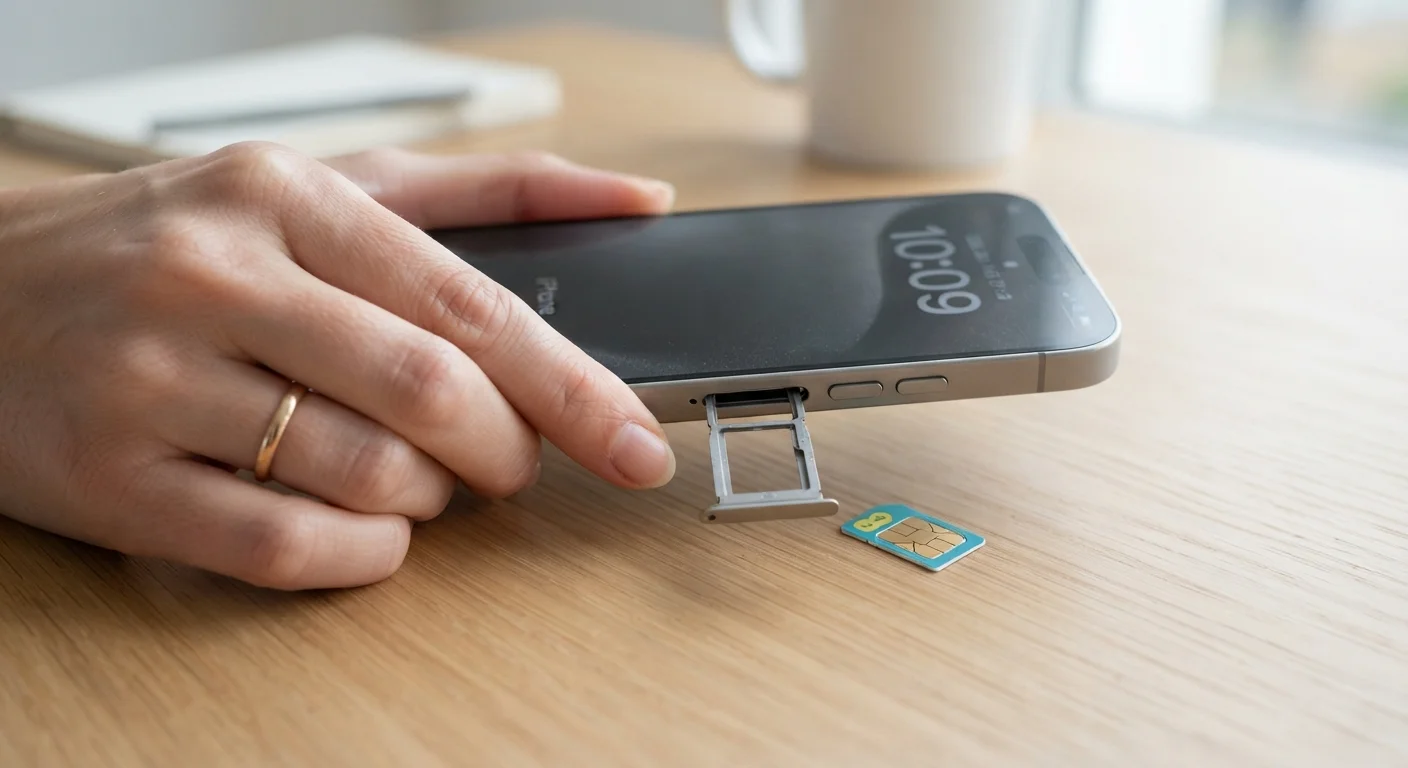
Photo credit: ProximityFinds.com | One-stop Reading Source
In this article
Porting your number, timing your switch, and avoiding early termination fees—a step-by-step walkthrough for changing carriers cleanly.
Key Takeaways
- Keep your current account active until the port is fully complete - canceling early can strand your number.
- You'll need your account number and PIN from your current carrier before starting the switch.
- Early termination fees apply to older contracts; device installment balances are separate obligations.
- Unlocked phones move between carriers freely; locked devices may need to be unlocked first.
- Number porting is a federally protected right - carriers must release your number within hours of a valid request.
What You Need Before You Start
Switching carriers is one of the more straightforward transactions in consumer telecom - but it has a specific sequence that, if skipped, can cost you time, money, or your phone number. The federal Local Number Portability rules guarantee that any US carrier must release your number to a competitor upon a valid request. That means your number belongs to you, not your carrier. The process only breaks down when the credentials submitted are incomplete or when an account is prematurely closed.
Gather the items below before you contact any new carrier. Having them ready reduces the risk of errors during the porting request and shortens the time your service is in transition.
What you will need
Account number and transfer PIN
Required by the new carrier to initiate a number port request from your old carrier.
IMEI number
Used to verify your device is compatible with the new carrier's network before switching.
New SIM card or eSIM profile
Activates your service on the new carrier's network once the port is complete.
Your current carrier's app or website
Used to retrieve account credentials and check device unlock eligibility.
Step-by-Step: Making the Switch
Follow these steps in order. The sequence matters - particularly the instruction not to cancel your old account early, which is the single most common mistake that causes number loss.
Check whether your phone is unlocked
Before anything else, confirm your device can operate on another carrier's network. A locked phone is software-restricted to its original carrier. Most US carriers are legally required to unlock a device once it is fully paid off and has met their minimum active-service period - typically 40 to 60 days, though policies vary.
To check, contact your current carrier or look in your phone's Settings for a "Network" or "Carrier" section. You can also attempt to insert another carrier's SIM temporarily. If the phone prompts for an unlock code, it is still locked. For a broader view of what unlocked status really means for your service and warranty, see our guide to unlocked phone trade-offs.
Gather your porting credentials from your current carrier
You'll need three pieces of information: your account number, your transfer (or porting) PIN, and the billing name and address on the account. These are distinct from your phone's unlock code or your login password.
- Account number: Found on your paper or digital bill, or in your carrier's app under account settings.
- Transfer PIN: Many carriers now issue a temporary porting PIN through their app or customer service line. Some carriers use your existing account PIN. Call or chat with your current carrier if you're unsure which applies.
Write these down or store them securely - you'll enter them at the new carrier's sign-up flow.
Understand any financial obligations before you leave
Legacy two-year subsidized contracts with early termination fees (ETFs) are now rare, but device installment plans are common. If you're paying off a phone in monthly installments, that balance does not disappear when you switch - it remains owed to your current carrier regardless of which network you use.
Some carriers offer credits to cover a competitor's outstanding installment balance as a switching incentive. Read the fine print carefully: credit amounts may be spread over 24 to 36 months, and leaving the new carrier early often forfeits remaining credits.
Verify network compatibility and sign up with the new carrier
Use your IMEI number (dial *#06# on your phone) on the new carrier's compatibility checker - most carriers provide this tool on their website. This confirms your device supports the correct frequency bands for their network.
Once compatibility is confirmed, choose your plan and begin the sign-up process. When prompted, enter the porting credentials you gathered in Step 2. If you're evaluating plans for the first time, our complete guide for first-time plan shoppers covers what to look for across networks, data types, and family lines.
Insert the new SIM or activate your eSIM
Once the new carrier approves your port request, you'll receive a new SIM card (physical or eSIM). For a physical SIM, power off your phone, swap the card, and power back on. For an eSIM, follow the carrier's activation steps in their app or via a QR code. The eSIM vs. physical SIM comparison explains how each technology affects carrier switching and travel use.
Your number port typically completes within a few minutes to a few hours. During this window, you may briefly lose service on both carriers - keep Wi-Fi calling enabled if possible to avoid missing calls.
Confirm the port and close your old account
Test your number by sending a text and making a call from a known contact. Confirm voicemail, mobile data, and any carrier-specific features are working. Only after service is confirmed on the new carrier should you contact the old carrier to close the account.
Request written or emailed confirmation of account closure and final bill. Keep that documentation for 60 to 90 days in case a billing dispute arises. Be aware that data speeds may vary by location and network load - if you notice unexpected slowdowns, review how carrier throttling and deprioritization work on your new plan.
Check Coverage Before You Commit
Coverage maps published by carriers are self-reported and often optimistic. Before finalizing your switch, ask friends or colleagues in your most-frequented locations which carrier they use and whether they experience dead zones. Many carriers also offer short trial periods - check whether your new carrier provides one before you fully close the old account.
Timing Your Switch to Avoid Surprises
Most carriers bill on a monthly cycle, and few pro-rate their final bill. Switching on day one of a new billing cycle wastes money; switching on day 28 typically means paying for a nearly full month either way. The practical advice: don't optimize obsessively around billing dates unless your plan has specific prorated terms. Focus instead on ensuring your installment balance is managed and that you're not mid-contract on any promotional pricing that has a clawback clause.
If you travel internationally, also think about whether your new carrier's plan covers roaming - and at what cost. For a practical breakdown, see our overview of international roaming, local SIMs, and eSIM travel plans.
Promotional Credits Come With Conditions
Switching bonuses and bill credits offered by carriers are typically contingent on staying with the new carrier for 24 to 36 months and maintaining a qualifying plan. If you switch again before the credit period ends, you may forfeit the remaining balance. Always read the promotional terms in full before factoring credits into your financial decision.

Author
Technology Editorial Team
Technology Editorial Team is the collective byline for our editorial team and contributor network. Articles published under this byline or an editorial pen name are researched, written, and reviewed according to our editorial standards for clarity, consistency, and independence before publication.
View all articles →