
Moving Into a Rental: What to Document Before You Unpack
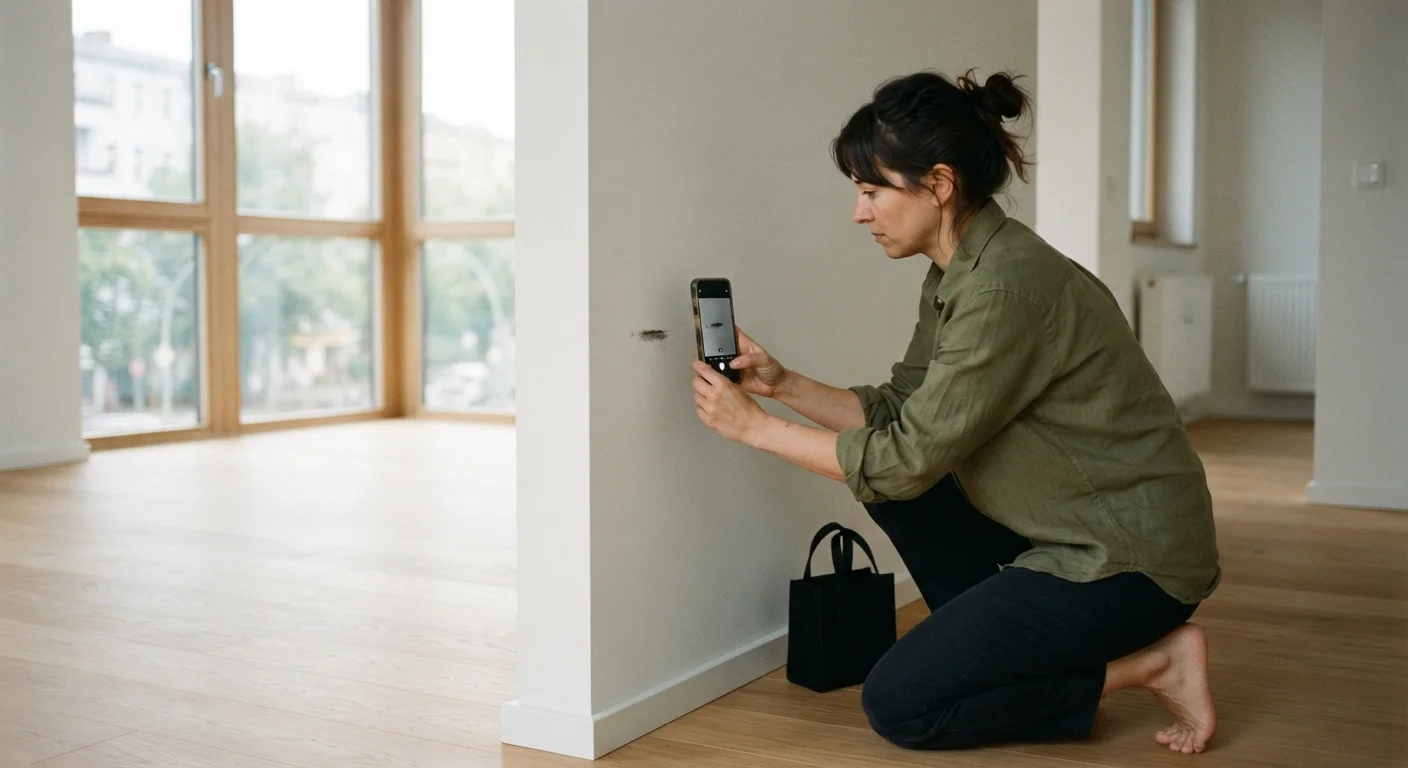
Photo credit: ProximityFinds.com | One-stop Reading Source
In this article
A thorough move-in inspection protects your security deposit. Use this checklist to document a rental unit's condition before you settle in.
Key Takeaways
- Complete your move-in inspection before bringing any belongings into the unit.
- Photograph and video every room, noting existing damage in writing with dates and timestamps.
- Share your completed documentation with your landlord and request written acknowledgment.
- State laws govern security deposit rules - know the deadlines and requirements in your state.
- Both tenants and landlords benefit when pre-existing conditions are clearly established from day one.
Why Move-In Documentation Matters
Your security deposit is a financial stake held against damage you cause during your tenancy. The critical legal question when you move out is: was that damage already there? Without documented proof of a unit's condition on day one, a tenant's word rarely prevails in a dispute. Yet this step is routinely skipped or done carelessly - costing tenants hundreds or thousands of dollars.
Documentation is equally valuable for landlords. A thorough, mutually acknowledged move-in report protects a property owner from unfair damage claims and creates a clear baseline for future maintenance discussions. See our companion piece on what first-time landlords should know for a broader look at protecting your investment from the owner's side.
The checklist below covers every area of a typical unit. Work through it methodically before any furniture enters the space.
Smartphone with camera
Captures timestamped photos and video of existing damage throughout the unit.
Move-in inspection form
Provides a written, room-by-room record that both tenant and landlord can sign and retain.
Flashlight or phone torch
Illuminates dark corners, under-sink cabinets, and closets where damage can be missed.
Outlet tester
Quickly verifies that every electrical outlet is wired correctly and functional.
Cloud storage or email
Creates a dated, off-device backup of all photos and documentation that is hard to dispute.
How to Use This Checklist
Conduct the inspection in good lighting - open blinds and turn on every light fixture. Walk each room in a consistent pattern: ceiling to floor, left to right. Use your phone's camera for timestamped photos and a short video walkthrough. Note every imperfection, even minor ones; small scuffs or stains you overlook now may be charged against you at move-out.
Document Before You Unpack - No Exceptions
Once furniture is in place, photographing pre-existing wall damage or floor scratches becomes far more difficult and less credible. The single most important rule of move-in documentation is to complete it before any of your belongings enter the space. This is the only way to establish an undisputed baseline for the unit's condition.
Once complete, compile your photos and written notes into a single document - a shared cloud folder or PDF works well. Email a copy to your landlord the same day and request a written response confirming receipt. If your landlord provides their own move-in inspection form, fill it out thoroughly and keep a signed copy. Understanding what goes wrong when this step is skipped is covered in detail in our article on why renters lose security deposit disputes.
Before You Start
Walls, Ceilings, and Floors
Doors, Windows, and Locks
Kitchen and Appliances
Bathrooms
Safety and Utilities
After the Inspection: Next Steps
Completing the checklist is only half the job. Follow these steps to make your documentation legally meaningful:
- Send it promptly. Most states give tenants a narrow window - often 24 to 72 hours after move-in - to submit a condition report. Check your state's landlord-tenant statutes or consult a local tenant rights organization for the exact rule that applies to you.
- Store copies securely. Keep documentation in at least two locations: a cloud backup and a local file. Losing your photos undermines their value entirely.
- Note utilities and meter readings. Photograph gas, electric, and water meters on move-in day if you are responsible for those accounts.
- Re-inspect after repairs. If your landlord agreed to fix anything before you moved in, verify and re-document once the work is done.
This process contrasts with what a seller does before listing a home - where the goal is presenting the property in its best light. Our home preparation checklist for sellers illustrates how the same spaces are viewed from an entirely different angle. For renters, the goal is objective record-keeping, not presentation.
Verbal Agreements Won't Protect You
If a landlord promises verbally to fix something before move-in, get it in writing before you sign or take possession. Unwritten agreements are extremely difficult to enforce in a deposit dispute. Any agreed repairs, paint jobs, or cleaning tasks should appear in a signed addendum or documented email exchange.
State Deadlines Vary - Don't Miss Yours
Many states require tenants to submit a written condition report within a specific number of days of taking possession, or forfeit certain legal protections. Do not assume you have unlimited time. Check your state's landlord-tenant statutes or contact a local tenant rights organization for the rules that apply in your jurisdiction.

Author
Real Estate Editorial Team
Real Estate Editorial Team is the collective byline for our editorial team and contributor network. Articles published under this byline or an editorial pen name are researched, written, and reviewed according to our editorial standards for clarity, consistency, and independence before publication.
View all articles →